
Keyboard cleaning and maintenance is something I take seriously at Keyboards Technology. A little regular care boosts hygiene, performance, and keyboard lifespan. This guide covers mechanical, membrane, laptop, and wireless keyboards with easy step-by-step routines for daily, weekly, and deep cleans.
I show the safe basics: unplug or turn off, remove batteries/dongles, use compressed air, a microfiber cloth, isopropyl alcohol, a soft brush and a keycap puller. My goal: make keyboard care simple so your typing and gaming stay smooth.
Key takeaway
- I prioritize gentle, regular keyboard cleaning and maintenance to prevent grime and germs.
- Quick daily wipes and short bursts of compressed air stop most problems.
- Use very little liquid and dry parts fully to avoid damage.
- Pull keycaps only when appropriate and wash them separately.
- Keep keyboards covered or stored safely when not in use.
Why I make keyboard cleaning and maintenance a priority
Health and hygiene
Think of your keyboard like a small countertop—it collects crumbs, oil, and germs. Regular keyboard cleaning and maintenance reduces bacteria and odors. Simple steps I follow when disinfecting:
- Power off and unplug the keyboard.
- Use 70% isopropyl alcohol on a microfiber cloth.
- Clean between keys with a cotton swab.
- Let everything dry completely before plugging in.
Quick disinfect items and use:
| Item | Why | How |
|---|---|---|
| 70% isopropyl alcohol | Kills germs fast | Lightly dampen cloth, wipe key tops |
| Microfiber cloth | Gentle, lifts oil | Wipe in one direction, avoid soaking |
| Cotton swab | Reaches tight spots | Twist gently between keys |
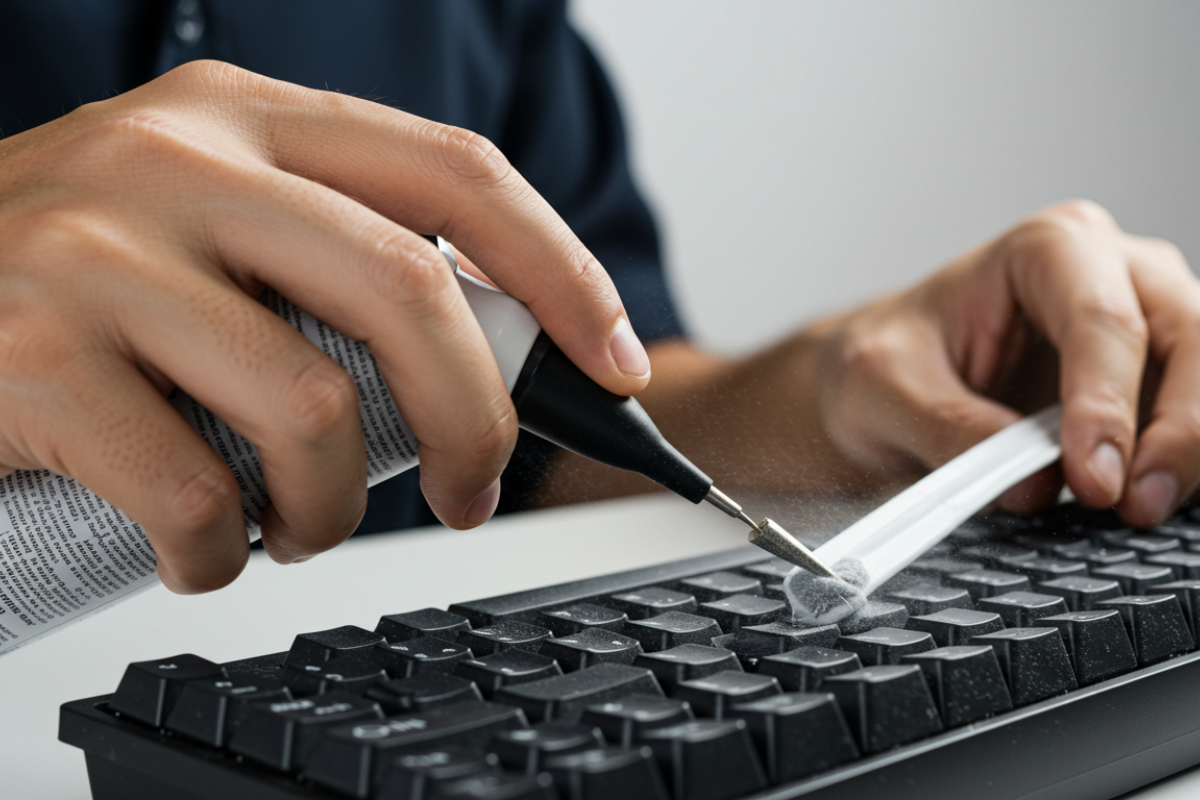
| Compressed air | Blasts crumbs | Short bursts at an angle |
I learned the hard way after a coffee spill: acting quickly and drying fully saves keyboards.
Performance gains
A clean keyboard types better—no sticky keys, fewer missed presses, less rattling. Regular keyboard cleaning and maintenance preserves contacts and switch feel. Preventive habits I keep:
- Keep food away from the desk.
- Shake out crumbs weekly.
- Use a cover when idle.
Quick keyboard maintenance: daily (2 minutes)
Daily care stops build-up and makes deep cleaning rare:
- Power down or unplug.
- Wipe key tops with a dry microfiber cloth.
- Tap the keyboard upside down to drop crumbs.
- Short burst of compressed air along gaps.
- Wash hands before long sessions.
Daily routine (approx. 2 minutes):
| Step | Time | Effect |
|---|---|---|
| Wipe keys | 30 sec | Removes oil & fingerprints |
| Flip & tap | 30 sec | Drops loose crumbs |
| Compressed air | 30 sec | Clears gaps |
| Hand wash | 30 sec | Lowers oils & germs |
These tiny habits are the foundation of good keyboard cleaning and maintenance.
Which keyboards I cover
I address four common types—each needs a different approach:
- Mechanical: Removable keycaps, individual switches. Good for deep cleaning.
- Membrane: Rubber dome; sensitive to liquids—stick to surface cleaning.
- Gaming: Often mechanical; check manuals for RGB care and coatings.
- Ergonomic: Unusual layouts; label keys before removal.
Type overview:
| Keyboard type | Dirt level | Best first move | Risk |
|---|---|---|---|
| Mechanical | High (dust under caps) | Remove keycaps, blow out debris | Low if slow |
| Membrane | Medium | Compressed air, surface wipe | Medium—avoid liquids |
| Gaming | High (sweat, food) | Check manual, surface/keycap clean | Medium |
| Ergonomic | Medium (tricky layout) | Label keys, gentle brush | Low if labeled |
Always test liquids on a small area first.
Laptops and wireless keyboards: delicate care
Laptops and some wireless models are fragile—extra care is essential for proper keyboard cleaning and maintenance.
- Turn off and remove power/batteries if possible.
- Tilt and use compressed air in short bursts; never blow with your mouth.
- Wipe key tops with a microfiber cloth lightly dampened with 70% isopropyl alcohol.
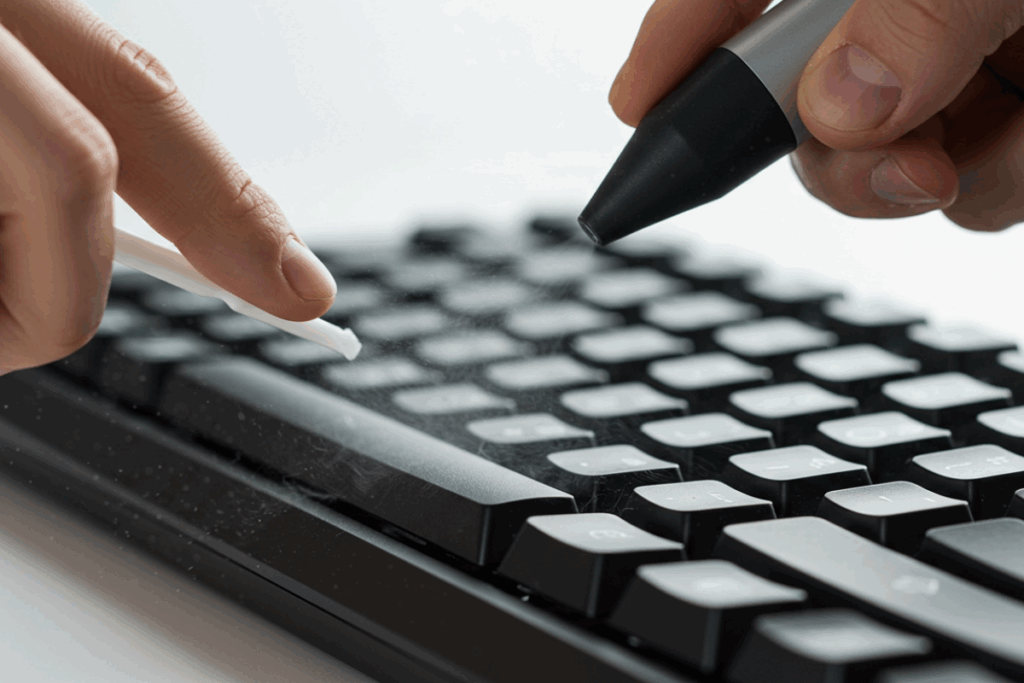
- For stuck keys, use a soft brush or a toothpick at an angle; avoid prying unless the manual permits.
- Wireless keyboards: remove batteries and dongle. If keys are removable, treat like mechanical caps; if sealed, surface clean only.
Model quick guide:
| Model | Power step | Liquid use | Key removal |
|---|---|---|---|
| Laptop | Power off, battery out if possible | Very light damp cloth only | Usually avoid |
| Wireless (removable keys) | Remove batteries | Safe for caps, not base | Remove caps safely |
| Wireless (sealed) | Remove batteries | Surface only | Do not remove keys |
Choosing the right method and cleaning safely
Decide based on keyboard type, dirt level, and warranty rules:
- Removable keys: deep clean keycaps in warm soapy water; dry 24 hours.
- Sealed keyboards: avoid liquids; use compressed air and a damp cloth.
- Spills: power off, remove batteries, invert, blot, and let dry fully.
- Test cleaners on a corner; use 70% isopropyl alcohol for sticky oils.
- Label keys or photograph layout before removal.
Safe-clean checklist:
- Power off and unplug.
- Remove batteries or AC.
- Use compressed air for dust.
- Damp microfiber for grease.
- Soak only removable keycaps.
- Wait 24 hours before reuse.
These rules cut repair time and protect warranties.

Recommended schedule for keyboard cleaning and maintenance
A simple rhythm: daily quick care, weekly light clean, monthly deeper clean, full disassemble every 6–12 months.
| Frequency | What I do | Tools |
|---|---|---|
| Daily | Wipe air blast | Microfiber, compressed air |
| Weekly | Deep wipe, check keycaps | Isopropyl wipes, brush |
| Monthly | Remove keycaps, clean base | Keycap puller, brush, soap |
| Every 6–12 months | Full disassemble | Screwdriver, brushes, detergent |
Deep clean — step by step:
- Power off and unplug.
- Remove keycaps with a keycap puller; keep keys organized (photo helps).
- Blow out debris with compressed air.
- Soak keycaps in warm soapy water; dry fully (24 hours).
- Wipe the board with a damp microfiber cloth and 70% isopropyl alcohol for stubborn spots. No puddles.
- Clean switches/stabilizers with a soft brush.
- Reassemble when everything is fully dry and test keys.
One fast-moved spill taught me: remove caps and clean quickly—prevention beats panic.
Tools and supplies I trust
Keep a small kit for quick fixes and deep cleans:
| Tool | Why | How |
|---|---|---|
| Microfiber cloth | Gentle on keys | Wipe & dry |
| Soft brush | Removes dust | Sweep debris |
| Compressed air | Blasts crumbs | Short puffs upright |
| Isopropyl alcohol (70%) | Fast-drying disinfectant | Dampen cloth/swab |
| Cotton swabs | Reach crevices | Use slightly damp |
| Keycap puller | Safe removal | Pull straight up |
| Small vacuum (low power) | Pick up debris | Use brush attachment |
| Plastic pry tool | Gentle lever | Use carefully |
What to avoid:
- Bleach, ammonia, oven cleaners.
- Soaking the PCB or switches.
- Sharp metal tools that scratch.
- Cheap compressed-air substitutes that spray liquids.
- Opening sealed boards under warranty.
- High heat or hair dryers on hot settings.
Compact travel kit (pocket-sized)
- Mini microfiber cloth
- Travel brush
- Pre-moistened alcohol wipe
- Folding plastic keycap puller
- Small can of compressed air or straw
- Cotton swabs pack
Great for quick on-the-go keyboard cleaning and maintenance.
Step-by-step procedures by keyboard type
Mechanical: remove and clean keycaps safely
- Power off and unplug.
- Use a keycap puller—lift straight up. Photograph layout if unsure.
- Soak keycaps in warm water with mild dish soap for 20–30 minutes.
- Scrub stubborn grime with a soft toothbrush, rinse, and air dry 24 hours.
- Blow out the board with compressed air, brush crumbs away.
- Wipe frame with a damp microfiber 70% IPA swab for spots (avoid switches).
- Reattach only when dry; press straight down and test.
Laptop: safe steps to avoid damage
- Power off, unplug, remove battery if possible.
- Tilt ~75° and use compressed air in short bursts at edges.
- Wipe keys with a microfiber cloth slightly dampened with 70% isopropyl alcohol.
- For sticky keys, swab edges with alcohol; do not force keys.
- If keys are removable per manual, clean caps separately and follow laptop instructions.
- Let the laptop dry 15–30 minutes before powering on.
Deep-clean checklist
- Power off and unplug.
- Document layout with a photo.
- Remove keycaps (mechanical only).
- Soak caps in warm soapy water 20–30 min; scrub, rinse, air dry 24 hours.
- Blow out board with compressed air.
- Brush plate and stabilizers.
- Wipe frame with microfiber 70% IPA.
- Reinstall dry keycaps; test every key.
Maintenance and prevention to keep keyboards working longer
Lubrication, cable care, firmware
- Lubricate switches lightly (Krytox 205g0 / Tribosys 3204) every 12–24 months if they feel scratchy—less is more.
- Grease stabilizers with thick dielectric grease where wires contact.
- Inspect and care for cables monthly—avoid tight bends and tugging.
- Check official Keyboards Technology firmware every few months; back up profiles first.
Task quick tips:
| Task | Product | Tip |
|---|---|---|
| Switch lube | Krytox 205g0 / Tribosys 3204 | Open one switch first; tiny amount |
| Stabilizers | Dielectric grease | Dab on wire contact points |
| Cable care | Braided/USB-C | Avoid tight wraps; unplug by connector |
| Firmware | Official updates | Back up settings before updating |
Troubleshooting sticky keys and connectivity
- Sticky key: remove keycap, blow out debris, swab with alcohol. If persistent, test or replace the switch.
- Key not registering: try another USB port/cable; check batteries and re-pair wireless; update drivers/firmware.
- After cleaning odd feel: likely leftover liquid or lost lube—let dry 24 hours, then re-lube sparingly if needed.
Troubleshooting mini‑table:
| Symptom | First step | Next step |
|---|---|---|
| Sticky key | Remove cap, blow out debris | Clean switch; test offboard |
| Key not registering | Swap USB port/cable | Update firmware; test switch |
| Post-clean odd feel | Let dry 24 hrs | Re-lubricate lightly or replace switch |
Preventing dust and crumbs with covers and habits
Small habits are powerful:
- Use a thin silicone cover at home.
- Wash hands before long sessions.
- Shake keyboard upside down weekly.
- Keep drinks in a separate zone.
- Use a desk mat to catch crumbs.
- Close the cover when away.
A cover is cheap insurance that reduces deep-clean frequency.
Conclusion
Treat keyboard care like tending a small garden: regular attention pays off. Keep the essentials—unplug, microfiber cloth, compressed air, keycap puller, and 70% isopropyl alcohol—and you’ll avoid most headaches. Daily wipes and short air blasts prevent crumbs and oils from becoming sticky problems.
For deeper work, remove caps, soak, and let everything dry fully. Move slowly, test often, and follow your keyboard’s care notes. Prevention beats panic.
Frequently asked questions
- How often should I clean my keyboard?
- Wipe weekly; deep-clean every 3–6 months; clean sooner after spills or heavy use. Regular keyboard cleaning and maintenance keeps issues small.
- What tools do I need for keyboard cleaning and maintenance?
- Microfiber cloth, compressed air, cotton swabs, isopropyl alcohol (70%–90%), keycap puller, soft brush. A compact kit covers most needs.
- Can I use compressed air and isopropyl alcohol safely?
- Yes—short bursts of air at an angle and alcohol on a cloth or swab. Never pour liquids onto the board.
- What should I do right after a spill?
- Unplug/remove batteries, invert to drain, blot, remove keycaps if possible, and let everything dry 24–72 hours.
- How do I deep-clean switches and keep feel fresh?
- Pull keycaps, soak and dry caps, blow out debris, swab around switches, and lube stabilizers lightly. Follow manufacturer guidance for switches and firmware.