
Mechanical keyboard switch tester is the easiest way I try switches before committing to a full set. I use a small board to press linear, tactile, and clicky switches side by side. It shows me the feel, actuation force, travel distance, and sound signature in real time — saving me from buyer remorse and helping me find what fits my typing and gaming style.
At Keyboards Technology I guide you through what to listen for, what to feel, and how to test so you pick the right switch with confidence.
Key Takeaway
- I use a mechanical keyboard switch tester to compare linear, tactile, and clicky options.
- I type full words to test actuation, travel, and the tactile bump.
- I listen for click level and tone with and without desk dampening.
- I check stem fit and hot-swap vs plate-mounted compatibility.
- I pick the switch that feels best for my typing or gaming, not just the specs.
What a mechanical keyboard switch tester is and why I use one
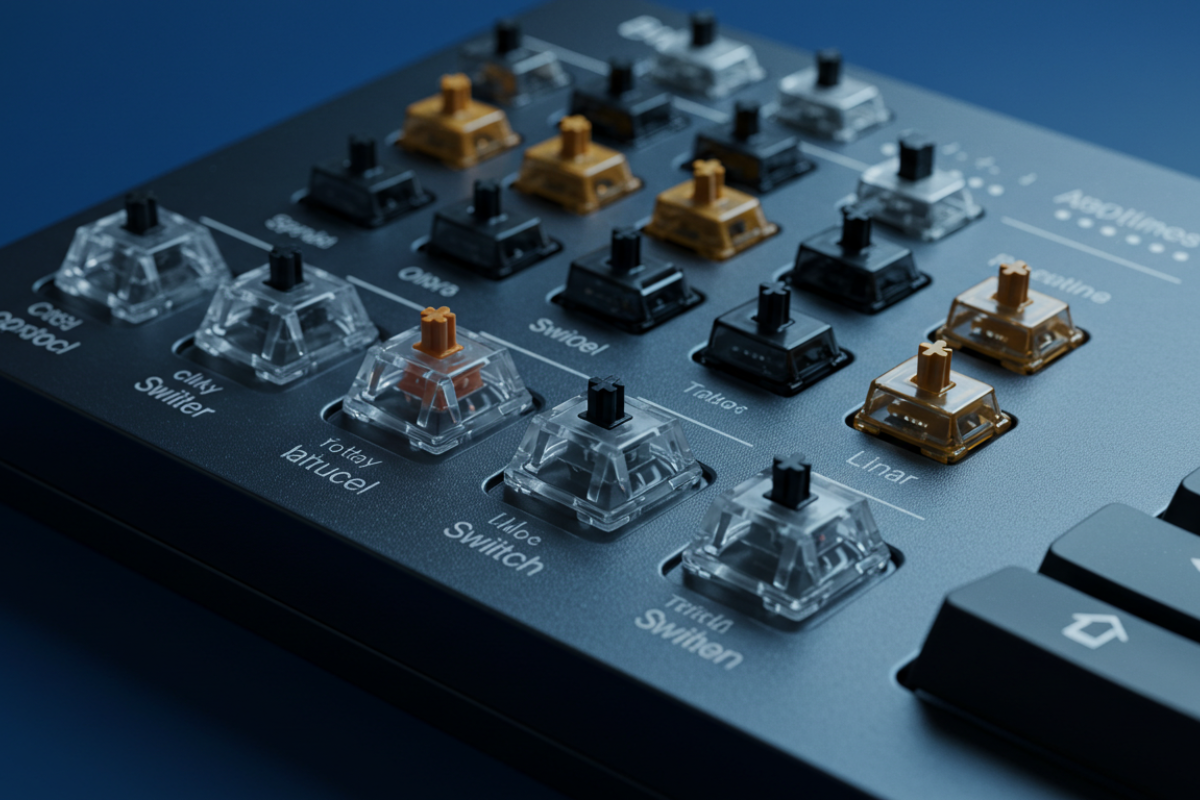
A mechanical keyboard switch tester is a small board or pack that lets you try switches before buying dozens. Plug a switch in, press it, listen, and feel the bump, click, or smooth travel. It’s a taste sampler for switches — essential if you type a lot or mod your boards. At Keyboards Technology, testers cut down guesswork so builds feel right from day one.
Types: single-plate, multi-switch boards, and sample packs
Three common formats serve different needs:
| Type | What it is | Best for |
|---|---|---|
| Single-plate tester | Holds one switch or a single row | Quick feel test for a specific switch |
| Multi-switch board | Many switch slots in a small layout | Side-by-side comparisons of sound and feel |
| Sample pack | Loose switches in small bags | Cheap, portable way to try many switches |
I like a multi-switch board for direct comparisons, a single-plate for one-off tests, and sample packs when I travel.
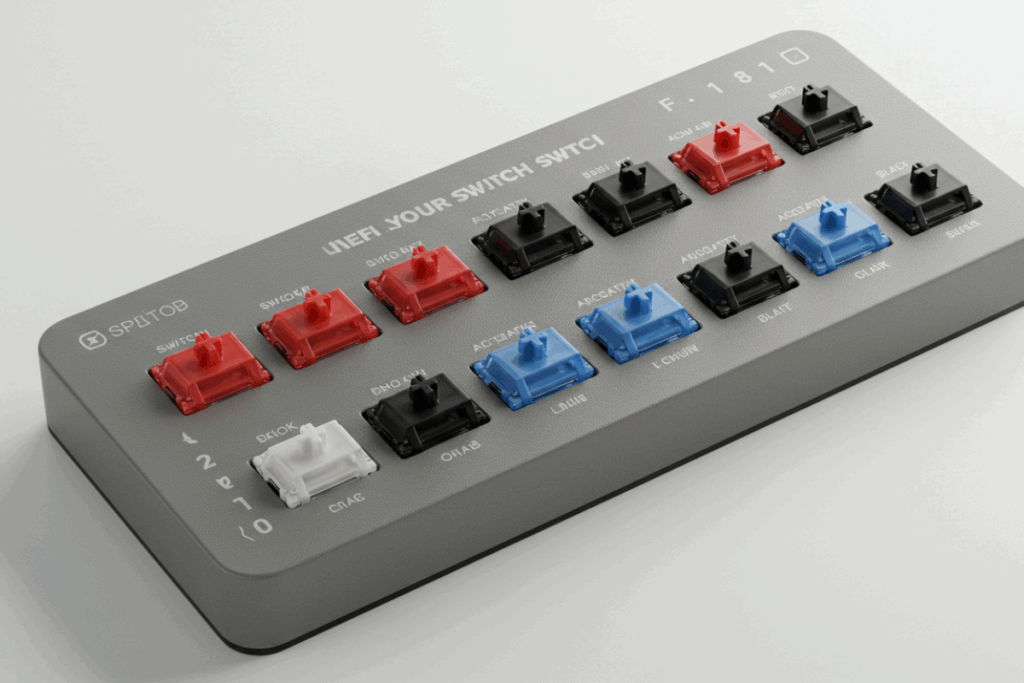
Hot-swap vs plate-mounted testers — how they differ
- Hot-swap testers: pull a switch out with no tools — great for fast comparison.
- Plate-mounted testers: hold switches rigidly and better mimic a real keyboard plate.
| Feature | Hot-swap | Plate-mounted |
|---|---|---|
| Swap speed | Fast — no tools | Slower — needs puller or force |
| Realism | Good for socketed boards | Better for plate-mounted feel |
| Best use | Quick comparisons | Test mount feel and sound |
| Durability | Pins wear with repeated swaps | Very sturdy |
I alternate between both depending on whether I want speed or realism.
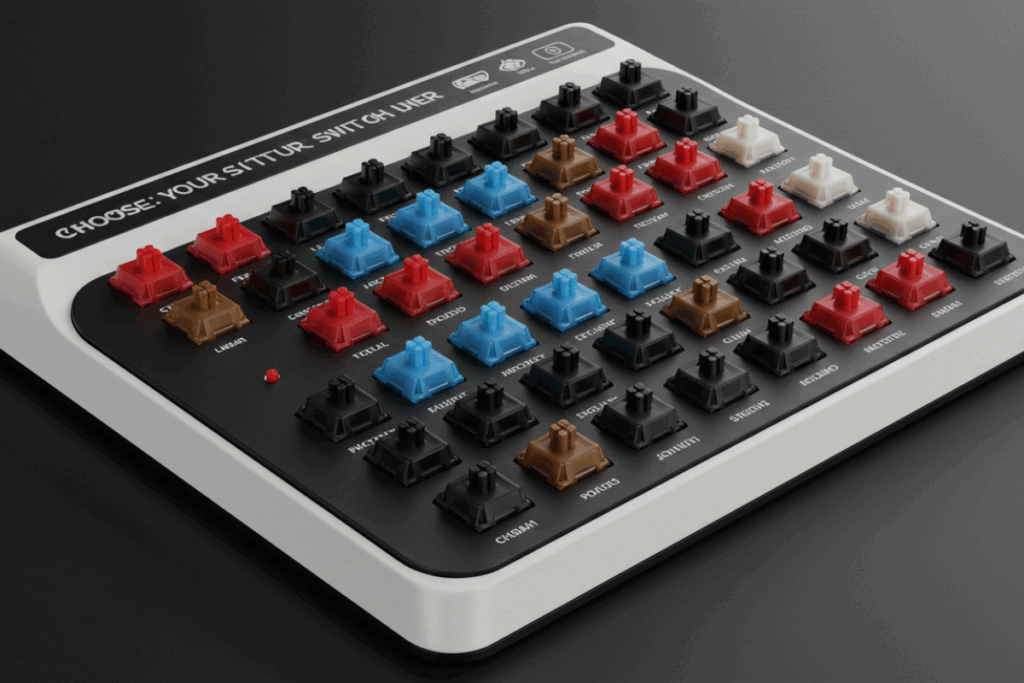
Size and format choices: 3-key, 6-key, 12-key, 24
Size matters: bigger testers let you compare more switches; smaller ones are cheap and portable.
| Size | How I use it | Good when |
|---|---|---|
| 3-key | Test a small trio | Traveling or quick idea tests |
| 6-key | Quick home use | A few variants side-by-side |
| 12-key | Narrowing favorites | Deeper comparisons |
| 24 | Full comparisons and sound tests | Major builds with many samples |
I keep a 6-key at my desk and pull out a 12-key or larger for deep comparison.
Key switch traits I check with a switch tester
I treat my mechanical keyboard switch tester like a microscope for feeling and sound. I press, listen, compare, and take short notes so impressions are consistent.
Switch feel and actuation: force, travel, reset
I check three things first: force, travel, and reset. I press each switch slowly and then fast to identify how much force is needed, where the actuation point sits, and how quickly the switch resets.
| Trait | How I test it | What I look for |
|---|---|---|
| Force (g) | Press with finger, compare by feel | Light = easy taps; Heavy = deliberate strokes |
| Travel (mm) | Feel and count travel distance | Short = snappy; Long = deeper feel |
| Reset | Tap twice fast | Short reset = faster typing; Long reset = deliberate return |
Slow presses reveal subtle differences; fast typing shows real-world behavior. I mark switches that feel balanced versus those too heavy or light.
Tactile vs linear — how I sense the bump
A tactile switch gives a bump; a linear slides smooth. To sense the bump I:
- Press slowly and hold to feel its sharpness and location.
- Do blind tests (close my eyes and switch hands) to remove bias.
- Type short phrases to see if the bump feels natural.
Tactile bumps can change the sound and rhythm; some tactile switches feel like a pleasant ridge, others slow you down. Linears feel smooth and suit fast typing or gaming when you want no interruptions.
| Sense | What I do | What it tells me |
|---|---|---|
| Touch | Slow press and hold | Bump location and sharpness |
| Blind press | Close eyes, switch hands | True feel without bias |
| Typing test | Type 30–60 seconds | Real-world comfort and speed |
Switch sound profile: clicky, thock, muted
Sound tells you a lot. I compare clicky, thock, and muted tones and run short recordings to replay later.
| Sound type | Character | Use case |
|---|---|---|
| Clicky | Sharp, high pitch | Lively feedback but loud |
| Thock | Deep, low pitch | Rich, premium-feeling sound |
| Muted | Soft, damped | Quiet for shared spaces |
I test in a small room and in a noise-treated spot and keep recordings to avoid memory bias.
How I use a mechanical keyboard switch tester to choose your switch
I follow a routine so impressions are fair and repeatable.
Consistent testing setup: same keycap, same finger, same posture
I keep three things identical: keycap, finger, and posture. Changing any skews results.
| Variable | What I use | Why |
|---|---|---|
| Keycap | Stock PBT of the tester | Shape/material changes pressure and sound |
| Finger | Index for alphas, thumb for space | Different fingers press differently |
| Posture | Upright, elbows at sides | Shoulder/wrist angle affects force & fatigue |
I also use the same desk, chair, and ambient noise. Warm-up typing for 30 seconds brings out small differences.
A/B comparisons and blind testing to avoid bias
I never pick a switch by brand alone. I do A/B runs and blind tests:
- Pair two candidate switches, do three one-minute typing bursts each.
- Switch positions and repeat for at least three cycles.
- For blind tests, cover labels or swap housings to remove brand bias.
| Test type | Steps | What I watch for |
|---|---|---|
| A/B | Switch A then B, three cycles | Immediate feel and rhythm |
| Blind | Label hidden, repeat cycles | Removes brand/color bias |
If a switch wins both blind and open runs, it’s a real favorite.
Note-taking: feel, sound, actuation, fatigue
I write one-line notes in four categories — Feel, Sound, Actuation, Fatigue — rating each 1–5 and adding a short comment.
| Category | 1 = bad | 5 = great | Example |
|---|---|---|---|
| Feel | mushy | crisp | “Light, snappy travel.” |
| Sound | hollow | pleasant | “Thocky, not pingy.” |
| Actuation | flat | precise | “Acts early, good for gaming.” |
| Fatigue | tires fast | stays fresh | “Good for long sessions.” |
Writers weigh fatigue and feel heavier; gamers weigh actuation and sound.
Switch sets I include when I build or buy the best switch tester for beginners
A good mechanical keyboard switch tester should show contrast — light to heavy forces, quiet to loud feedback.
Linear picks: light to heavy
I include a spread so I can feel how smoothness and spring weight affect typing.
| Switch | Approx actuation (g) | What I test for |
|---|---|---|
| Gateron Clear | ~35g | Very light; great for fast typing |
| Cherry MX Red | ~45g | Balanced light linear; baseline |
| Gateron Yellow | ~50g | Midweight, smooth glide |
| NovelKeys Cream | ~55–60g | Heavier, more momentum, warmer sound |
| Cherry MX Black | ~60g | Heavy linear; for heavy-handed typists |
Pressing each 50–100 times shows how smoothness holds up and whether spring ping appears.
Tactile and clicky picks: mild to pronounced
I include mild to pronounced tactile/clicky switches to help beginners find a sweet spot.
| Switch | Type | Tactile profile |
|---|---|---|
| Gateron Brown | Tactile | Mild bump, low noise |
| Cherry MX Brown | Tactile | Subtle bump, neutral option |
| ZealPC Tactile variants | Tactile | Sharper bump, firmer feedback |
| Kailh Box White | Clicky | Crisp audible click |
| Cherry MX Blue | Clicky | Pronounced click and bump |
I test bump location, sharpness, and whether the click is pleasant or jarring.
Maker mix: Cherry, Gateron, Kailh, NovelKeys, ZealPC
I include at least one from each maker so beginners see differences in feel, build, and sound.
| Maker | Signature traits | Why include |
|---|---|---|
| Cherry | Consistent factory specs | Familiar baseline |
| Gateron | Smooth travel, affordable | Shows smoother stems without big cost |
| Kailh | Experimental styles | Loud clicks and creative designs |
| NovelKeys | Custom blends | Unique textures |
| ZealPC | Premium tactiles | High-end tactile design |
Compare housing tolerances, stem wobble, and sound consistency.
DIY hot-swappable sampler vs ready-made kits — my buying guide
What I look for: variety, hot-swap, build quality
- Variety — many switch types to test sound and feel.
- Hot-swap — swap switches without soldering for quick testing.
- Build quality — a solid tester matters; cheap plastic ruins the experience.
A mechanical keyboard switch tester should help you pick before buying a full set. Ready-made kits feel plug-and-play; DIY lets you customize plate, PCB, and stabilizers.
Parts I recommend for DIY
| Part | Why | Tip |
|---|---|---|
| Hot-swap PCB | Change switches fast | Choose standard sockets (Gateron/Kailh) |
| Plate | Affects sound and feel | Brass = bolder; Polycarbonate = softer thock |
| Stabilizers | Keeps big keys steady | Lubed & clipped to cut rattle |
| Keycaps | Real feel under fingers | Try thin vs thick profiles |
I buy parts from trusted vendors like Keyboards Technology when I want proven quality.
Cost, convenience, and custom options
- Cost: ready-made $20–$60; DIY $30–$120.
- Convenience: ready kits are plug-and-play; DIY takes time.
- Customization: DIY wins — pick plate materials, lubes, and layouts.
I once bought a cheap sampler and hated the wobble; building a DIY tester taught me far more and saved money on full packs later.
Modding and post-test steps before picking switches
How lubing, films, and spring swaps change feel and sound
Start with a dry test on your mechanical keyboard switch tester. Then try one mod at a time so you know each change’s effect.
- Lubing smooths travel, reduces scratch, and warms sound.
- Films reduce housing wobble, tighten the sound, and shorten decay.
- Spring swaps change actuation and return feel; heavier springs add punch.
| Mod | Main effect | Feel | Sound change |
|---|---|---|---|
| Lubing | Smooths stem | Cleaner, less scratch | Warmer, less high-end |
| Films | Cuts wobble | Firmer, consistent | Tighter, shorter decay |
| Spring swap | Changes force | Heavier = punchier | Slight pitch changes |
I once lubed a linear from my tester and it felt night-and-day better — that convinced me to buy a full set.
When to order a full set vs extra samples
Use the tester to reduce risk:
- Buy a full set when the tester matches your force and sound, you need color matching, or you want the same batch across the board.
- Order extra samples when you plan mods and want to test results, see small differences between samples, or are on a tight budget.
| Situation | Action |
|---|---|
| Confident after testing | Buy full set |
| Want to mod and retest | Buy extra samples |
| Need exact color/batch | Buy full set and check batch |
How case, plate, and keycap choices shape typing and acoustics
After picking switches, the case, plate, and keycaps finish the sound and feel.
- Case material: Plastic = brighter; aluminum = deeper resonance. Foam lowers echo.
- Plate material: Brass/steel = stiffer, higher pitch; polycarbonate/FR4 = softer, thockier.
- Keycap material & profile: PBT = deeper, textured; ABS = brighter. Tall profiles (SA) = rounder sound; low profiles = snappier typing.
| Component | Effect on feel | Effect on sound |
|---|---|---|
| Case (aluminum) | More solid, heavier | Deeper, more resonance |
| Case (plastic) | Lighter | Brighter, quick decay |
| Plate (brass/steel) | Stiffer | Higher pitch, crisp |
| Plate (polycarbonate/FR4) | Slight flex | Softer, thockier |
| Keycaps (PBT) | Textured | Deeper, muted |
| Keycaps (ABS) | Smooth | Brighter, sharp |
I swapped a plastic case for aluminum once — the favorite switch stayed the same, but the whole board sounded richer.
Conclusion
I treat a mechanical keyboard switch tester like both a taste sampler and a microscope for my fingers — quick, honest, and revealing. It saves me from buyer remorse by letting me feel force, travel, and reset, and hear the sound signature before I commit.
I test with the same keycap, same finger, and consistent posture, run A/B and blind tests, and note feel, sound, actuation, and fatigue so picks are data-driven. Swap between hot-swap and plate-mounted testers for speed or realism, try simple mods one at a time, and only buy a full set when the tester nails the feel. Remember that case, plate, and keycaps can turn a favorite switch into a symphony or a dud.
Frequently Asked Questions
Q: What is a mechanical keyboard switch tester and why should I use one?
A: A mechanical keyboard switch tester is a small board with sample switches to feel and hear options before buying a full set. It prevents costly mistakes.
Q: How do I test switches properly with a switch tester?
A: Use a consistent setup (same keycap, finger, posture), warm up for 30 seconds, do slow and fast presses, run A/B and blind tests, and keep short notes.
Q: Do keycaps and mounting change what I feel on a tester?
A: Yes. Keycap material/profile and plate vs PCB mounting change both feel and sound. Bring your caps or match the tester’s caps to your intended build.
Q: How many switches should a good tester include?
A: At least 6 types; 12–24 is better so you can compare linear, tactile, and clicky options.
Q: Should gamers or typists use a mechanical keyboard switch tester to pick switches?
A: Absolutely. Gamers often prefer light linears; typists may prefer tactile or clicky switches. A mechanical keyboard switch tester helps you find the best match.