
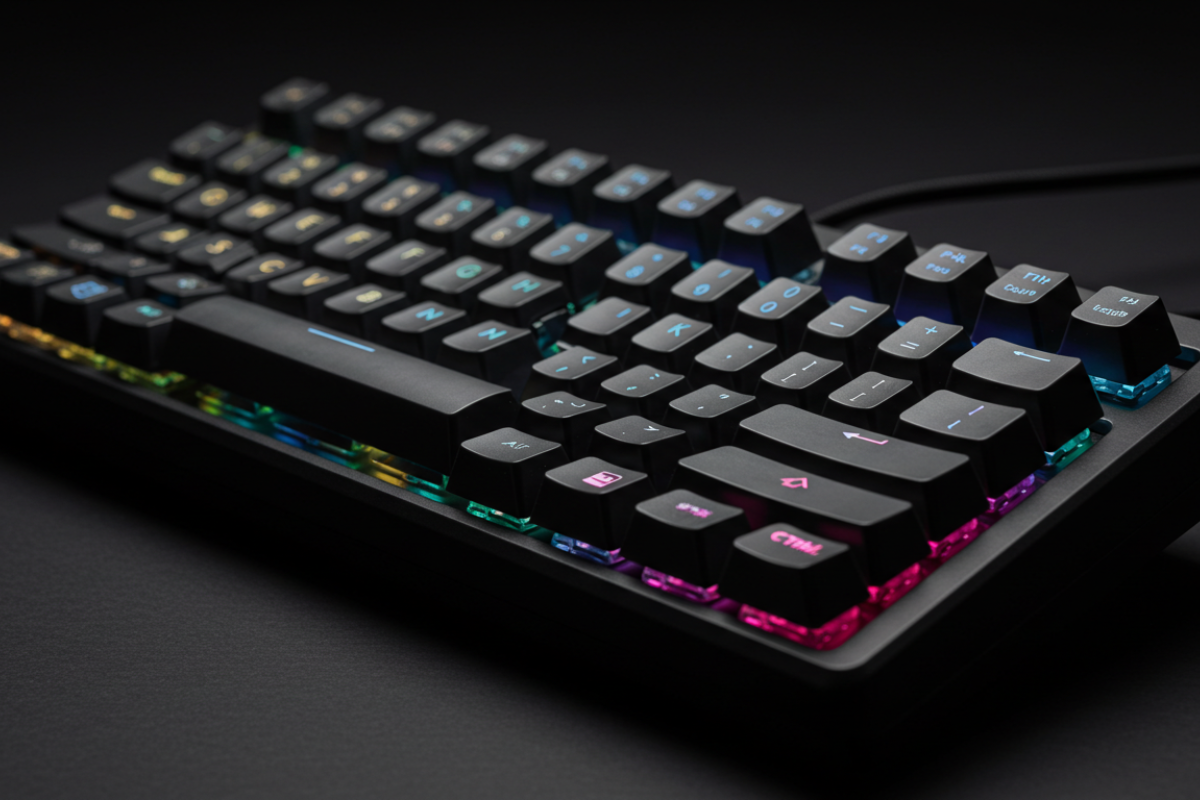
Mechanical Keyboards grabbed my attention years ago and I still choose them over membranes every time. I love that each key has its own switch, so the feel, sound, and durability are completely different from rubber-dome boards.
This guide covers why I choose them for typing, gaming, and coding, and walks you through switch types (linear, tactile, clicky, silent), keycaps and ABS vs PBT, sizes and layouts, hot-swap vs soldered PCBs, lubing, acoustic mods, custom builds, and the buying checklist I use before I spend.
It’s written for beginners and enthusiasts with simple tests and clear tips to help you find the right board and make it sound and feel exactly how you want.
Key Takeaway
- I prefer Mechanical Keyboards for superior feel, sound, and durability.
- I customize quickly with modular parts and hot-swap options.
- I test, lube, and mod to tune sound, feedback, and comfort before committing.
Understanding Mechanical Keyboards and Why I Choose Them
What a mechanical keyboard is and how mechanical keyboard switches work
I pick Mechanical Keyboards because every key has a real switch with three main parts: stem, spring, and housing. Press a key, the stem moves, the spring compresses, and the switch signals the computer — that click or bump is what makes them feel alive.
Think of a switch as a tiny engine under each key. The actuation point tells the computer a key was pressed; travel is how far the key moves. Different switches deliver different feels: smooth, bumpy, or loud and clicky. I test a switch by pressing slowly and then quickly to sense the difference.
| Part | Job |
|---|---|
| Stem | Moves and gives feel |
| Spring | Controls resistance and travel |
| Housing | Holds parts and affects sound |
| Switch Type | Feel | Sound | Best for |
|---|---|---|---|
| Linear | Smooth, no bump | Quiet | Fast typing, gaming |
| Tactile | Bump at actuation | Moderate | Typing, feedback |
| Clicky | Bump click | Loud | Typists who like sound |
Advantages of Mechanical Keyboards over membrane keyboards
I switched from membrane to Mechanical Keyboards for clear, practical reasons:
- Durability: switches last millions of presses.
- Consistency: keys keep the same feel over time.
- Accuracy: precise actuation reduces mistakes.
- Customization: swap keycaps and switches; build what you want.
- N-key rollover: many keys register simultaneously—great for gaming.
- Repairability: fix one switch instead of replacing the whole board.
| Feature | Mechanical | Membrane |
|---|---|---|
| Lifespan | Long (millions of presses) | Shorter |
| Feel | Distinct and stable | Mushy |
| Custom options | Many | Few |
| Multi-key input | Strong (N-key) | Limited |
Quick checklist I use to spot a true mechanical keyboard
- Press a key and listen — does it sound like a switch, not a soft thud? Sound matters.
- Pull a keycap — can I see a real switch with a stem and spring? Visual check.
- Check the spec sheet for switch type and rated presses (millions).
- Try multiple keys — consistent feel across the board signals quality.
- Test simultaneous presses for N-key rollover.
- Ask if switches are hot-swappable for easy change without soldering.
| Test | What I look for |
|---|---|
| Sound | Clear switch click or thock |
| Visual | Visible switch under keycap |
| Specs | Rating in key presses |
| Feel | Same feel across keys |
| Multi-key | All keys register together |
Mechanical keyboard switches: types, feel, and real differences
Linear, tactile and clicky explained
I think of switch types like shoes. Linear = sneakers (smooth, quiet). Tactile = hiking boots (you feel each step). Clicky = tap shoes (loud, rhythmic feedback).
- Linear: smooth travel, no bump — great for fast typing and gaming.
- Tactile: small bump at actuation — better feedback for long typing.
- Clicky: bump plus audible click — satisfying but noisy.
| Switch Type | Feel | Sound | Best For |
|---|---|---|---|
| Linear | Smooth | Quiet | Gaming, fast typing |
| Tactile | Bump on press | Moderate | Typists, coders |
| Clicky | Bump click | Loud | Feedback lovers, solo use |
Tactile vs linear: the real difference is feedback. With tactile I know when a key registers; with linear I rely on rhythm. For long writing, tactile reduces errors; for rapid key spam, linear wins.
Silent mechanical keyboard switches and when to pick them
Silent switches use dampeners or special stems to reduce noise while keeping the mechanical feel.
I choose silent switches when:
- I’m in an office or shared room.
- I need to record audio or calls.
- I want mechanical feel without waking the house.
Pros: quieter, still available in tactile or linear variants.
Cons: slightly muted feedback; some models can feel mushy — test each.
| Switch Type | Noise Level | Ideal Setting |
|---|---|---|
| Clicky | High | Private room |
| Tactile | Medium | Office with tolerance |
| Silent | Low | Shared spaces, streams, calls |
At times I recommend silent options to coworkers — they keep performance without noise drama.
How I test switches for typing comfort and noise level
I test in short rounds and long runs:
- Mount the switch on a board with the same keycap for fairness.
- Do a 1-minute typing test for rhythm and accuracy.
- Type a 30-minute passage to judge comfort and fatigue.
- Use a phone decibel app at 30 cm for peak and average noise.
- Play a short game for double-tap speed and bounce.
- Record impressions: comfort, noise, feedback, and daily fit.
I log those notes so I can recommend the right Mechanical Keyboards for different users.
Sizes and layouts: from full-size to compact mechanical keyboards (60%)
Full-size, TKL, 75%, 65% and 60% — what each layout offers
I test many Mechanical Keyboards, so here’s a clear layout guide to help you pick:
| Layout | Keys | What I like | Drawback | Best for |
|---|---|---|---|---|
| Full-size | ~104 | Has a numpad and full function row | Takes lots of desk space | Data entry, office work |
| TKL (Tenkeyless) | ~87 | Keeps function row, drops numpad | No numpad for number-heavy tasks | Gamers, coders who want space |
| 75% | ~84 | Compact with connected cluster for arrows | Slight learning curve | Small desks, mixed use |
| 65% | ~67 | Keeps arrows and a few nav keys | No function row | Writers, portable setups |
| 60% | ~61 | Minimal, portable | Lacks arrows/nav by default | Minimalists, travel |
I often use TKL at my home desk — it gives more mouse room while keeping the keys I use most.
Hot-swappable mechanical keyboard vs soldered PCB for easy upgrades
A hot-swap board lets you pull a switch and drop a new one in. A soldered PCB ties switches with solder. Both work; they just fit different needs.
| Feature | Hot-swap | Soldered PCB |
|---|---|---|
| Switch swap | Swap in seconds | Requires soldering |
| Customization | Easy experimentation | Harder but stable |
| Repair | Simple | More effort |
| Cost | Often higher | Can be cheaper |
If I plan to test switches or upgrade, I pick hot-swap. For a rigid build and lower price, soldered makes sense.
How I pick a layout based on desk space and workflow
Steps I follow:
- Set a goal: write, game, or number crunch.
- Measure available width.
- Consider mouse space — big mouse arm needs room.
- Pick the smallest layout that still has the keys I use daily.
Example: moving from full-size to 65% freed more mouse space and kept my typing fast. If I need numbers, I use an external numpad. I also test a layout for a week — practical trial beats theory.
Keycaps and materials: choosing mechanical keyboard keycap materials
I care about keycaps — they change sound, feel, and wear. I look at material, profile, and thickness first. These decide comfort and lifespan on any Mechanical Keyboards I use.
ABS vs PBT and common keycap profiles like SA and Cherry
Quick comparison I use for ABS vs PBT, plus profiles:
| Feature | ABS | PBT |
|---|---|---|
| Texture | Smooth, can be slick | More textured, grippy |
| Shine | Prone to shine over time | Resists shine longer |
| Durability | Softer, wears faster | Harder, lasts longer |
| Sound | Brighter, higher pitch | Deeper, muted tone |
| Price | Often cheaper | Usually pricier |
| Profile | Feel | Best for |
|---|---|---|
| SA | Tall, rounded tops | Typists who like vintage sculpted feel |
| Cherry | Lower, flat curve | Fast typists, gamers |
From my tests, PBT is the safe pick for long life and steady texture. ABS can feel smooth initially and sound brighter. I switch to SA when I want a cushioned press and Cherry for fast sessions.
Custom keycap sets and how they change typing feel
Custom keycaps change three main things:
- Profile: taller caps change finger travel; lower caps speed up repeats.
- Material & thickness: thick PBT sounds solid and deep; thin ABS sounds hollow.
- Surface & finish: matte grips; glossy slides.
Examples from my desk:
- Thick PBT artisan set made my board feel heavier and quieter.
- Thin ABS novelty set brightened the sound but got shiny fast.
- Switching from Cherry to SA slowed me down but reduced errors.
Custom sets let me tune sound, travel, and comfort to match how I type.
A simple touch test I use to judge keycap quality
Quick routine before I commit:
- Run my thumb across the cap: oily fast = thin finish (low resistance).
- Press corner and center: if it bends, it’s thin — I want stability.
- Flick with a nail: sharp ring = thin ABS, dull thud = thick PBT.
- Check rims for mold lines.
- Put the cap on a switch and type a few words to listen for wobble and sound.
These steps take seconds and save me from caps that look great in photos but fail in use.
Customization and modding: building custom mechanical keyboard builds
Lubrication basics and a mechanical keyboard switch lube guide
Lubing is like oiling a bike chain. It reduces scratch, cuts ping, and smooths travel. I open switches with a switch opener and use a small brush for a thin coat on slider rails and springs. Too much lube dulls the feel — less is better.
| Lube | Viscosity | Best for | Effect |
|---|---|---|---|
| Krytox 205g0 | High | Linear switches | Very smooth, deep thock |
| Tribosys 3204 | Medium | Tactile & linear | Smooth, keeps tactility |
| Gasket grease | Low | Springs, housings | Reduces spring noise |
| Dielectric grease | High | Stabilizers | Cuts rattle on stems |
Quick tips:
- Clean switches first.
- Lube springs lightly for spring ping.
- Lube stabilizer inserts and sides of stems, not the entire stem.
Acoustic mods: foam, dampeners, and stabilizer tuning
Sound is muscle memory for my ears. Small changes make big differences; I test one mod at a time.
Common mods:
- Foam in the case lowers echo and bright tones — thin layer under PCB.
- Plate foam adds warmth between plate and PCB.
- Switch films reduce wobble and harsh click.
- Band-aid/clip mod on stabilizers tames rattle on large keys.
- Lubed stabilizers often best fix for scratchy spacebars.
| Foam type | Thickness | Sound change |
|---|---|---|
| Polyester | 1–2 mm | Softer, quieter |
| Poron | 1–3 mm | Deep, muted thock |
| EVA | 2–4 mm | Firm, less echo |
Example: swapping polyester for Poron turned a tinny board into a fuller-sounding one — coworkers noticed.
My step-by-step prep list for a basic custom build
I follow this recipe each time:
- Clean workspace — clear table and good light.
- Parts check — PCB, plate, switches, stabilizers, case, screws, cable.
- Tools ready — soldering iron, desoldering pump, switch opener, tweezers, brush, lube, films, foam.
- Stabilizer prep — clip, lube, and film stabilizers first.
- Switch prep — open and lube switches row by row; keep springs ordered.
- Mount switches — place lubed switches into plate/PCB; use films if wanted.
- Solder — clean joints; check as you go.
- Foam placement — add case/plate foam before closing.
- Final test — plug in and run a key tester; fix bad switches.
- Break-in — use the board for a week; small sounds settle with typing.
This list saves time and mistakes.
Use cases and buying guide: best mechanical keyboards for gaming and programming
Choosing switches for gamers or coders
I treat switch choice like picking shoes: comfort for long walks or sprints. For gaming, I prefer linear switches — smooth and fast, reducing finger fatigue. For programming, I lean to tactile or light clicky switches — feedback helps me know a key registered without bottoming out.
| Switch type | Feel | Actuation | Best for | My pick |
|---|---|---|---|---|
| Linear | Smooth | Low–medium | Gaming, fast macros | Linear options |
| Tactile | Bump on press | Medium | Programming, typing comfort | Tactile lineup |
| Clicky | Bump click | Medium–high | Typists who like sound | Light clicky options |
I test switches with code snippets and a few game rounds, watching latency and ghosting.
Budget tiers, hot-swap options, and feature priorities
I split budgets into three tiers and explain expectations:
| Tier | Price range | What I expect | Hot-swap advice |
|---|---|---|---|
| Entry | < $70 | Solid keys, decent switches, basic build | Hot-swap is a big plus |
| Mid | $70–$150 | Better stabilizers, gasket/foam dampening | Prefer hot-swap |
| High | $150 | Premium mount, PBT keycaps, custom switches | Hot-swap or soldered depending on build |
Top priorities:
- Build quality — solid frame, minimal flex.
- Switch variety — many options to try.
- Hot-swap — easy testing and swapping.
- Keycaps — PBT preferred for durability.
- Stabilizers — no rattle on long keys.
- Connectivity — wired for gaming; wireless if latency proven low.
- Layout — tenkeyless or 65% for desk space; full-size if you need numpad.
I weigh features by daily use: stabilizers and keycaps move up for heavy typing; latency and switches matter most for gaming.
Top buying factors I check before I spend on a keyboard
- Purpose: gaming or programming? This decides switches and layout.
- Switch feel: test travel, actuation, and sound.
- Hot-swap: do I want to swap later? Choose hot-swap.
- Build: metal or thick plastic reduces flex.
- Keycaps: check material and profile; PBT default.
- Size: desk space and shortcut needs dictate layout.
- Firmware & software: stable software for macros.
- Price vs value: compare features for the money.
- Warranty and support: pick brands with good support.
Quick Mechanical Keyboards checklist (SEO-friendly summary)
- Test at least one Mechanical Keyboard in each switch family (linear, tactile, clicky, silent).
- Prefer PBT keycaps for longevity.
- Choose hot-swap if you plan to experiment.
- Lube switches and stabilizers for better sound and feel.
- Add case/plate foam to tune acoustics.
- Start with a TKL or 65% if you’re unsure about desk space.
- Use a week-long trial before finalizing layout and caps.
Conclusion
I still pick Mechanical Keyboards for feel, sound, and durability. Each key is a tiny engine: the right switch (linear, tactile, clicky, or silent), the right keycaps (PBT vs ABS), and the right layout change everything. I test, lube, and mod — foam, stabilizers, films — until the board sounds and feels right. Like oiling a bike chain, a little care makes the ride smooth.
When buying, focus on: switch type, hot-swap vs soldered, keycap material, stabilizers, and overall build quality. Press keys, measure noise, and try a layout for a week. Small mods often make the biggest difference. Change one thing at a time, let the board break in, and you’ll find a setup that feels made for your hands.
Frequently Asked Questions
Q: What are Mechanical Keyboards?
A: Mechanical Keyboards use one physical switch under each key. They offer consistent feel, longer lifespan, and customization options I prefer.
Q: How do switches differ: linear, tactile, clicky?
A: Linear = smooth; tactile = bump; clicky = bump audible click. I often choose tactile for typing and linear for fast gaming.
Q: Hot-swap or soldered — which should I buy?
A: Hot-swap lets you swap switches fast and try new feels; soldered can be cheaper and firmer. Hot-swap is great for beginners and experimenters.
Q: Wired or wireless — what’s the tradeoff?
A: Wired = lowest lag and no battery. Wireless = cleaner desk and multi-device pairing. I pick wired for pro play and wireless for on-the-go use.
Q: How do I keep my keyboard feeling and sounding great?
A: Remove keycaps and dust, lube stabilizers and switches, add foam for sound, and follow a break-in period. Small, targeted mods make the biggest gains.