

keyboard switch guide from Keyboards Technology is my hands-on playbook for getting the perfect typing feel.
I keep it simple and practical: how I choose between tactile and linear switches, the quick switch test I use, how I measure actuation force and spring weight at home, and how travel distance, stem material, lubing, and small mods (spring swaps, films, stem lubing) change feel and sound. By the end of this keyboard switch guide you’ll know how I get the typing feel I want — and how you can too.
Key Takeaway
- I pick linear, tactile, or clicky switches to match my typing feel.
- I match actuation force to my fingers to reduce fatigue.
- I rely on Keyboards Technology hot-swap boards to try switches fast.
- I prefer pre-lubed switches and solid stabilizers for smooth typing.
- I set keycap profile and layout to make typing feel right for me.
How I choose between tactile vs linear switches (keyboard switch guide)
What tactile vs linear switches feel like
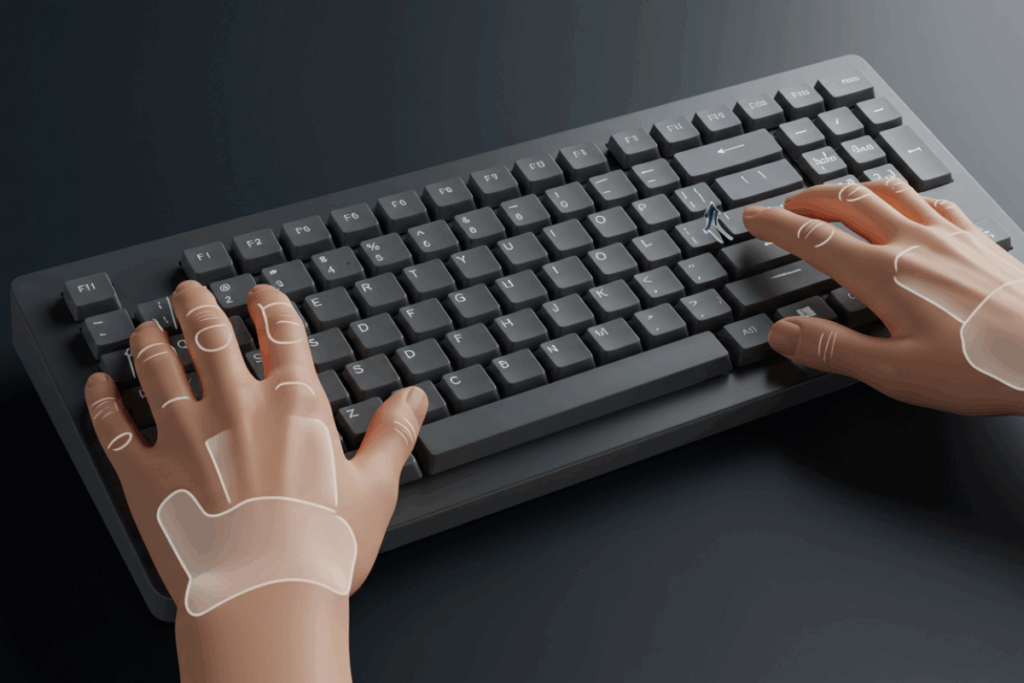
I always test switches with my fingers first — feel and sound tell more than specs.
- Tactile: you feel a clear bump at actuation. It’s like a small hill under your finger and helps you know when a key registered without bottoming out. Great for precision.
- Linear: smooth travel top-to-bottom with no bump. Feels like sliding down a rail — quieter and consistent, ideal for fast typing or gaming.
| Feature | Tactile | Linear |
|---|---|---|
| Feedback | Bump | Smooth |
| Sound | Moderate | Quieter |
| Feel while typing | Distinct stop | Consistent glide |
| Best for | Precision | Speed and flow |
I test each on a Keyboards Technology sample board. That hands-on check shows real differences fast.
Which tasks match tactile vs linear (keyboard switch guide)
Match the task to what matters: feedback or speed.
- Typing & writing → Tactile (bump reduces typos).
- Fast-paced gaming → Linear (smooth repeats, quick combos).
- Long data entry → choose for comfort: medium springs/tactile for fewer hits, lighter springs/linear for less fatigue.
| Task | Recommended Switch | Why |
|---|---|---|
| Long typing sessions | Tactile | Bump reduces missed presses |
| Competitive gaming | Linear | Faster repeats |
| Casual mixed use | Both | Try on a switch tester |
| Mic-on streaming | Linear | Less audible feedback |
Simple switch test I use to compare feel
Takes under five minutes:
- Mount two switches on a tester (one tactile, one linear).
- Press each slowly — feel for the bump and note sound.
- Tap rapidly for 10 seconds — count mistakes.
- Type a short sentence (e.g., The quick fox jumps high.).
- Try a short game combo or repeat keystrokes.
Record comfort, speed, and noise. This quick routine is central to my keyboard switch guide.
Understanding actuation force and optimal spring weight
I use this section of the keyboard switch guide to pick switches that fit my hands and work habits: fast but not tiring.
What actuation force numbers mean
Actuation force is the grams (g) needed to press a key to register (e.g., 45g). Lower = lighter presses; higher = heavier presses.
| Actuation force (g) | How it feels | Who might like it |
|---|---|---|
| 35–45g | Very light; fast taps; can feel twitchy | Fast typists, low fatigue seekers |
| 45–55g | Medium; balanced | Office and mixed use |
| 55–70g | Heavy; deliberate | Heavy typists, certain gamers |
I use about 48–55g for daily work — balance of speed and control.
How spring weight affects comfort
The spring weight is the single biggest feel changer. Heavier springs tire fingers; lighter springs save energy but increase accidental presses.
| Spring weight (g) | Effect on comfort | When I choose it |
|---|---|---|
| 30–40g | Feather-light; less fatigue short-term | Fast gaming, short sessions |
| 45–55g | Balanced; comfortable for hours | Writing, coding |
| 60–80g | Heavy; more control; can tire quickly | Heavy-handed typists |
I test springs by typing a paragraph and doing 10 minutes of usual tasks. If my fingers ache, the spring is too heavy; too many mistakes and it’s too light.
How I measure actuation force at home
Simple tools: a digital kitchen scale or small force gauge.
- Place keyboard on a flat surface.
- Zero the scale (grams).
- Use a flat tool on the scale to press straight down.
- Slowly press the key and watch the scale — the number when the key registers is actuation force.
- Repeat 3–5 times and average. Try multiple keys and log results.
Measuring key travel distance: pre-travel and post-travel
What key travel, pre-travel, and post-travel mean
- Key travel: total distance from rest to bottom (common mechanical ~4.0 mm; low-profile ~1.5–2.0 mm).
- Pre-travel: distance to actuation (register point).
- Post-travel: remaining distance after actuation until bottom.
| Term | What it is | Typical values |
|---|---|---|
| Key travel | Full key movement | 1.5–4.0 mm |
| Pre-travel | Distance to actuation | 0.8–2.0 mm |
| Post-travel | After actuation to bottom | Remainder of total travel |
How travel distance changes speed and fatigue
- Shorter pre-travel → faster typing; higher risk of accidental taps.
- Longer travel → more deliberate strokes; may reduce sharp fatigue for some.
| Travel type | Actuation (pre) | Speed | Fatigue |
|---|---|---|---|
| Short | ≤ 1.2 mm | High | Can cause more strain if you bottom out |
| Medium | ~1.8–2.0 mm | Balanced | Moderate fatigue |
| Long | ≥ 2.5 mm | Slower | Less sharp impact; can tire if force high |
I prefer pre-travel ~1.6–2.0 mm with total travel 3.6–4.0 mm — speed without twitchiness.
Why switch stem material matters (keyboard switch guide)
The stem material changes feel and sound. The stem is the tiny part the keycap rides on; material can make a key feel buttery or scratchy and change the tone from a deep thock to a higher ping.
Common stem materials and differences
| Material | Feel | Sound | Durability |
|---|---|---|---|
| POM (Delrin) | Very smooth | Deeper thock | High — resists wear |
| Nylon | Slightly gritty at first | Brighter, higher pitch | Moderate — can wear faster |
| PC (Polycarbonate) | Balanced, firm | Clear, mid tone | Good — stable shape |
I pick POM for a silky feel, Nylon for snappier response, and PC for a balanced premium feel.
Durability and compatibility
Material affects wear and wobble. POM keeps profile longer, reducing wobble and odd sounds over time. Most modern switches use a Cherry-cross stem that fits many keycaps, but always check product specs if unsure.
How I check stem material before buying:
- Read product specs.
- Inspect close-up photos.
- Read user reviews.
- Ask sellers or community experts.
- If possible, buy a sample switch to test.
How lubed switches feel and how sound changes
I lube switches for a smoother press and quieter board. Lubing reduces friction between stem and housing — smoothing the press and damping high frequencies without changing travel length.
Effects of lubrication
- Reduced scratch on the initial press.
- Less wobble from loose stems.
- Slightly slower return with thick lube.
- No change in total travel.
- Lowered, damped sound pitch.
| Characteristic | Before Lube | After Lube |
|---|---|---|
| Scratchiness | High | Low |
| Stem wobble | Noticeable | Reduced |
| Key return speed | Normal | Can be slightly slower |
| Travel distance | Same | Same |
| Sound pitch | Sharper | Damped / lower |
How to tell sound profile differences
Listen like a mechanic with a stethoscope:
- Listen for ping or ring — loud ping means high frequencies; lube usually lowers that.
- Note the attack (first millisecond) — cleaner = less friction.
- Check decay — lubed switches decay faster.
- Use a reference key (spacebar) and compare in the same room and volume.
Basic lubing steps
- Prepare: switch opener, brush, lube (thin Krytox/Tribosys), tray.
- Open in small batches.
- Clean with a soft brush.
- Thinly lube stem rails — less is more.
- Light smear on housing contact points.
- Optional light coat on spring to reduce ping.
- Reassemble and test; adjust if sluggish.
My early attempts used too much lube — less is better.
Hot-swap compatibility and a simple switch modding guide
What hot-swap compatibility means
Hot-swap lets you replace switches without soldering — pull one, drop another, test instantly. I prefer Keyboards Technology hot-swap boards for sturdy sockets that fit most switches. This speeds trials and prevents damage.
| Socket type | Compatible switches | Note |
|---|---|---|
| Cherry-style | Cherry, Gateron, many clones | Common and reliable |
| Kailh-style | Kailh and some clones | Works for larger stems |
| Universal | Many brands (check fit) | Best for broad trials |
A good hot-swap board lets you test spring weights, lubed stems, and films in minutes.
Easy mods: spring swap, films, stem lubing
Order I follow: swap springs → add films → lube stems. Predictable results.
Spring swap:
- Open, remove spring, try lighter/heavier, reassemble. Outcome: changes actuation weight.
Films:
- Add thin switch films between housings. Outcome: reduces wobble, tightens sound.
Stem lubing:
- Thin brush coat on stem rails. Outcome: smoother travel, reduced scratchiness.
| Mod | Time per switch | Effect |
|---|---|---|
| Spring swap | ~1–2 min | Changes force |
| Film install | ~1 min | Reduces wobble |
| Stem lubing | ~2–3 min | Smooths travel |
Quick switch modding checklist
- Pull switch with a puller — test stock feel.
- Open switch with opener tool.
- Swap spring to tune force.
- Add film precisely.
- Thinly lube stem rails.
- Reassemble and run bake-in cycles.
- Note results in a short log.
I follow this checklist each time — it keeps work fast and comparisons clear.
Keyboard switch guide: Quick checklist (SEO-friendly summary)
- Use a switch tester to sample tactile, linear, and clicky.
- Aim for 45–55g for general typing; adjust to taste.
- Prefer pre-traveled feel ~1.6–2.0 mm pre-travel for balance.
- Try POM stems for smoothness and PC for a balanced tone.
- Lube stems lightly and use films to reduce wobble.
- Choose a hot-swap board to experiment quickly.
This compact keyboard switch guide checklist helps you iterate fast.
Conclusion
This is my hands-on keyboard switch guide for finding the perfect typing feel: test by touch and sound, measure actuation force and pre-travel, choose spring weight for session length, and apply small mods (lube, films, spring swaps) one at a time. Hot-swap boards make experimentation fast.
Treat stem material (POM, Nylon, PC) as the soul of a switch — change it and the whole board sings differently.
If you take one thing away: test, record, and trust your fingers. Try one change at a time and you’ll know what matters to you.
Frequently Asked Questions
- What is the best first step in a keyboard switch guide for perfect typing feel?
- Start with a switch tester: try linear, tactile, and clicky to narrow preferences.
- How do I pick the right actuation force?
- Aim for 45–60g for typing comfort: lighter for speed, heavier for precision.
- Should I lube or mod switches to get the perfect feel?
- Yes — lube stems and add films for reduced scratch and noise. Small mods often yield big improvements.
- Do keycaps and case matter in a keyboard switch guide?
- Absolutely. Thick PBT keycaps and different cases/plates change sound and feel significantly.
- Hot-swap or soldered: which is best for trying switches?
- Hot-swap is best for testing — quick, no soldering, try many switches in minutes.