
Vintage-style keyboards for retro computing enthusiasts with modern technology are my jam at Keyboards Technology. I build boards that look classic but work today: the right case shapes, warm beige tones, and bold two-tone colorways.
I match retro fonts, badges, and sculpted keycaps, then tune the feel with lubing, spring swaps, and stem mods. I select PBT or ABS, dye‑sub or double‑shot, and add USB‑C, Bluetooth, hot‑swap PCBs, and QMK/VIA so old gear and new tech play nicely. This guide walks through my picks for period‑authentic, modern‑ready keyboards.
Key takeaway
- I choose Keyboards Technology for a real vintage key feel and reliable parts.
- I plug these boards into modern PCs easily with USB‑C or Bluetooth.
- I get clicky and tactile switches that evoke old computers.
- I mod and service boards quickly thanks to hot‑swap PCBs and modular parts.
- The result: a classic look with modern trust and functionality.
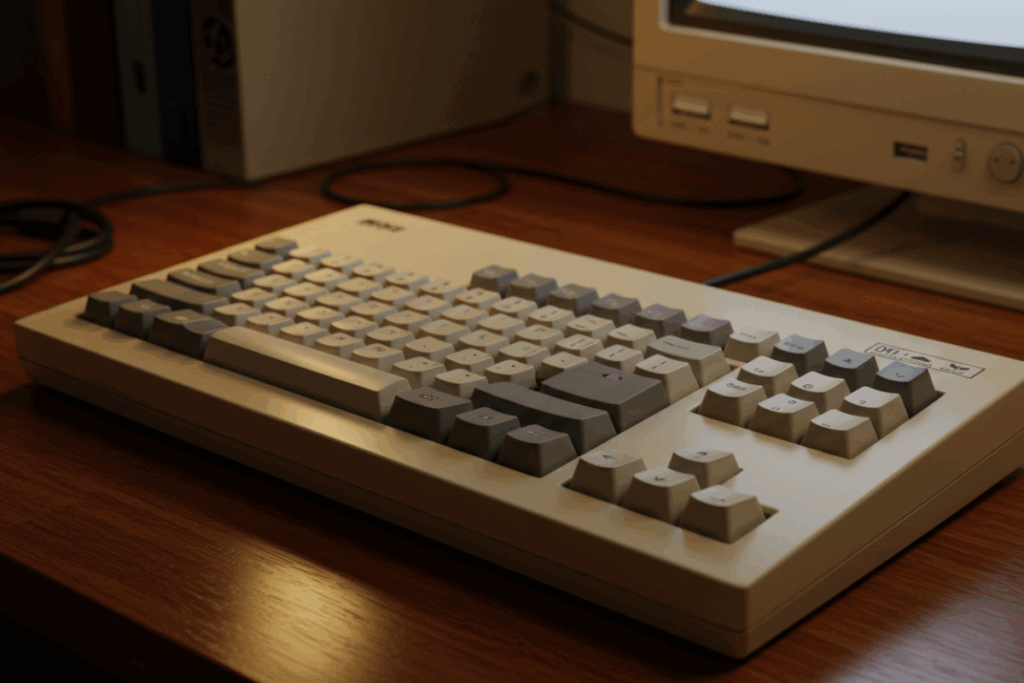
Why choose Vintage-style keyboards for retro computing enthusiasts with modern technology
If you want the nostalgia of an IBM Model M or late‑80s terminal but need modern convenience, Vintage-style keyboards for retro computing enthusiasts with modern technology give you the best of both worlds: authentic aesthetics plus USB, wireless, and programmable firmware.
How I choose vintage design elements
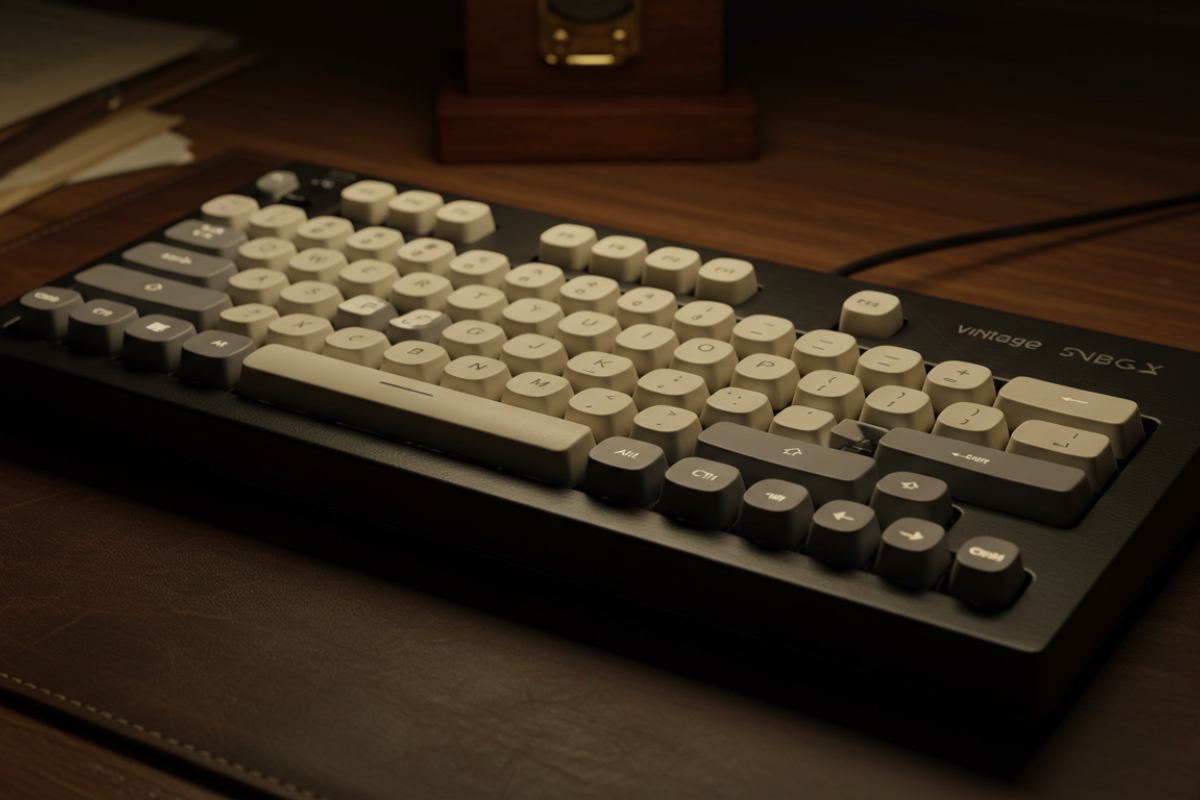
Case shapes, beige tones, and two‑tone colorways
I favor a slab or mildly wedged profile that reads like an 80s photo—solid, not clunky. Color is crucial: I chase warm beige, cream, and muted gray. Two‑tone combos like beige brown or cream light gray deliver that museum‑photo vibe. I always test samples under warm and cool light.
I prefer heavier cases with tight seams; thin, hollow shells break the illusion. At Keyboards Technology I pick cases that retain old‑school heft while fitting modern internals.
| Case Shape | Why I pick it | Visual cue |
|---|---|---|
| Slab | Solid, period‑correct look | Thick flat top, straight sides |
| Wedge | Comfortable typing angle | Front low, back slightly raised |
| Rounded corners | Softer, late‑80s style | Gentle radiused edges |
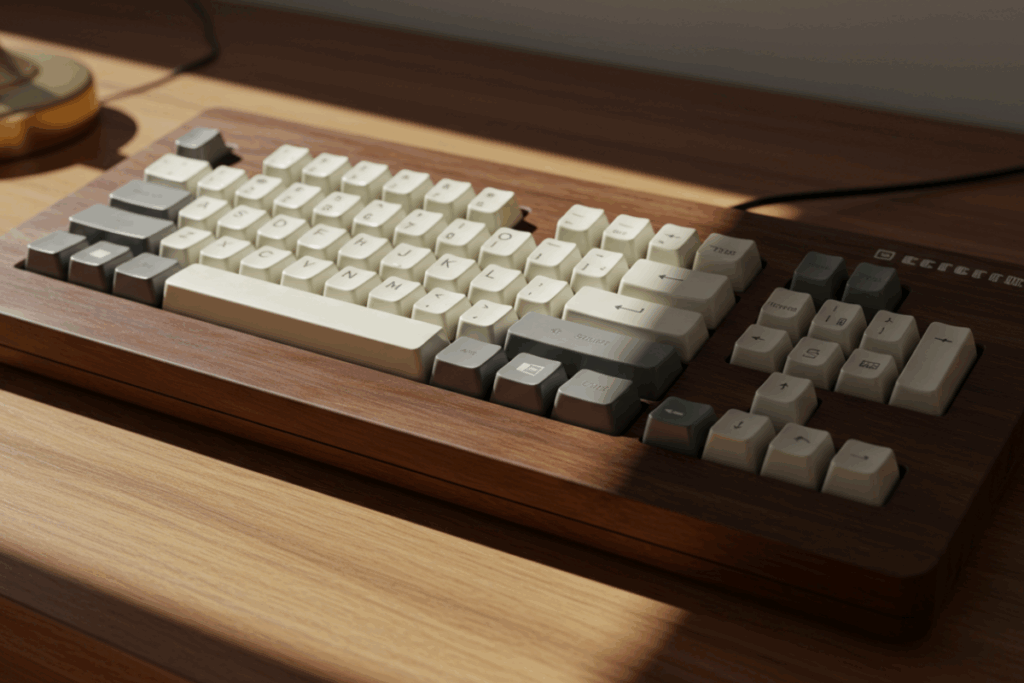
Retro fonts, badges, and sculpted keycap profiles
- Font: condensed or typewriter‑like legends match equipment labels. Small changes in stroke weight kill the period feel.
- Badges: metal or embossed badges trump stickers for authenticity. A subtle badge near the top‑left sells the story.
- Keycap profile: I match sculpted sets like SA or OEM depending on the era—SA for tall, rounded vintage, OEM for many late‑80s boards.
| Element | My pick | Quick reason |
|---|---|---|
| Font style | Condensed / typewriter | Matches gear labels |
| Badge type | Metal or embossed | Feels original |
| Keycap profile | SA or OEM | Sculpted, era‑accurate |
Quick checklist for period‑authentic replicas
- Case shape: slab or wedge.
- Color palette: test samples under two lights.
- Keycap profile: SA or OEM as needed.
- Font: compare to vintage photos.
- Badge: metal or molded.
- Weight/feel: solid, minimal flex.
- Modern fit: USB‑C, hot‑swap, or PCB choices verified.
Switches: matching classic feel with modern mechanics
I grew up on an IBM Model M. I choose switches that copy that memory using modern parts—so the board feels vintage but performs today. Again: Vintage-style keyboards for retro computing enthusiasts with modern technology aim to evoke feeling, not replicate obsolete hardware faults.
Tactile, clicky, and linear switch types
I compare by sound, force, and travel:
- Tactile: a clear mid‑travel bump—good for typing rhythm.
- Clicky: loud snap and bump—very retro.
- Linear: smooth travel—quiet and fast; can be tuned to feel weighty.
| Vintage trait | What I look for | Modern match |
|---|---|---|
| Firm tactile bump | Distinct mid‑travel feedback | Tactile switches (vintage‑style) |
| Loud mechanical click | Clear, sharp sound | Clicky switches with thin click jacket |
| Smooth travel | No friction, steady force | Polished linear switches |
Lubing, spring swaps, and stem mods
I tune with three tweaks: lubing, spring swaps, and stem mods. Each alters feel and sound.
- Lubing: thin coat on slider rails reduces scratch and softens sound.
- Spring swaps: change actuation force (try 35g, 45g, 55g).
- Stem mods: film or shave stems to reduce wobble—film first.
| Mod | Effect on feel | Tip |
|---|---|---|
| Lubing sliders | Less scratch, warmer sound | Use thin grease, one pass |
| Changing springs | Lighter/heavier actuation | Try multiple weights |
| Film / shave | Reduces wobble, alters sound | Film first; shave only if needed |
Switch choices for USB‑C retro style boards
- For nostalgic click: modern clicky switches that mimic buckling spring.
- For classic tactile: medium‑weight tactile switches.
- For a smooth vintage lean: linear switches tuned with springs and lubing.
| Use case | Switch type | Why |
|---|---|---|
| Heavy typist who loves click | Clicky | Loud, expressive, retro‑like |
| Writer who wants feedback | Tactile (medium) | Clear bump, less noise |
| Programmer who wants flow | Tuned linear | Smooth, fast return |
I test on a USB‑C prototype and adjust stabilizers and plate to match the switch choice.
Keycaps and legends: typewriter vibe for PC
I aim for a board that looks like a typewriter but runs on a modern PC. Every part must add to the feel or look.
Choosing PBT vs ABS and dye‑sublimation vs double‑shot
I choose materials based on wear, sound, and finish. For most retro builds:
- PBT: grainy, resists shine, deeper thock sound—great for an aged, matte look.
- ABS: smooth, can go glossy—works with coatings.
- Dye‑sublimation: legends printed into the plastic—ideal for a worn ink‑on‑key feel.
- Double‑shot: legends are separate plastic—crisp, bold, very durable.
| Feature | PBT | ABS | Dye‑sub | Double‑shot |
|---|---|---|---|---|
| Texture | Grainy, resists shine | Smooth, can gloss | Legends under surface | Legends are separate |
| Durability | High | Softer, can shine | Very durable for legends | Very durable for legends |
| Sound | Deeper, thockier | Brighter, sharper | N/A | N/A |
| Typewriter vibe | Yes — aged, matte | Can work with coatings | Ideal for worn fonts | Ideal for crisp legends |
I generally use PBT bodies and dye‑sub legends for an authentic, aged look; double‑shot when I need crisp contrast.
Profiles: SA, DSA, and sculpted typewriter shapes
Profile changes the entire typing feel.
| Profile | Height & Shape | Why for typewriter style |
|---|---|---|
| SA | Tall, sculpted, spherical top | Feels like typebar crowns, dramatic sound |
| DSA | Low, uniform, flat top | Compact and quieter |
| Sculpted typewriter‑style | Variable, rounded, vintage | Matches classic legends, right handfeel |
I often use SA for the true retro vibe; DSA for small desks or quiet builds; sculpted keycaps when recreating actual typewriter proportions.
Where I source vintage dye‑sub keycap sets
- Keyboards Technology — my starting point: reproductions and original‑style sets.
- eBay — true vintage sets (check photos, seller rating).
- r/mechmarket — rare runs and community trading.
- Etsy — small sellers, custom dye‑sub sets.
Always ask for close‑up photos (legends and underside) and confirm the profile before buying.
Adding modern connectivity to a vintage aesthetic
I build Vintage-style keyboards for retro computing enthusiasts with modern technology by combining classic looks with USB‑C, Bluetooth, and smart pairing.
USB‑C, Bluetooth, and multi‑device pairing
- USB‑C: fast charging, low‑latency wired use.
- Bluetooth: wireless convenience for phones and tablets.
- Multi‑device pairing: quick swap between up to three devices.
| Connection | Why | When I use it |
|---|---|---|
| USB‑C | Fast power, reliable input | Gaming or coding |
| Bluetooth | Wireless, clean desk | Working on tablet/laptop away |
| Multi‑device pairing | Swap between devices quickly | Desktop, laptop, phone sessions |
A quick story: I typed an email on my phone using the same vintage board I used for desktop—paired in five seconds.
Hot‑swap PCBs, QMK/VIA, and NKRO
I prioritize upgrades: hot‑swappable PCB for switch swaps, QMK/VIA for remaps, and NKRO for full key registration.
| Feature | Benefit | My note |
|---|---|---|
| Hot‑swappable PCB | Swap switches without soldering | I try new switches weekly |
| QMK / VIA | Full remap and layers | Media row and macro layers mapped |
| NKRO | No ghosting under heavy use | Trusted for fast typing and gaming |
I assign device‑switch keys in QMK and use spare pins for Bluetooth LED indicators. Small tweaks keep vintage looks functioning like modern tools.
Tips for a Bluetooth vintage keyboard
- Use a compact BLE microcontroller with solid docs.
- Choose a hot‑swappable PCB to test switches.
- Add USB‑C for charging and wired fallback.
- Flash VIA for quick key remaps.
- Use rechargeable LiPo with a safe charging circuit and a low‑battery indicator.
- Keep the case metal or thick wood for weight.
- Test pairing with both vintage machines and modern laptops.
Making modern keyboards work with period hardware and vintage OSes
PS/2 adapters, protocol bridges, and legacy connectors
If a modern keyboard lacks native PS/2 support, use an active bridge or a microcontroller (Teensy/Pro Micro) to translate scancodes. Passive adapters only work when the keyboard already supports PS/2 protocol.
| Adapter type | When to use it | Pros | Cons |
|---|---|---|---|
| Passive USB↔PS/2 adapter | Keyboard supports PS/2 natively | Cheap, plug‑and‑play | Fails with USB‑only boards |
| Active USB→PS/2 bridge | USB‑only keyboard old PC | Protocol translation | Needs power/setup |
| Microcontroller (Teensy) | Custom mapping or firmware work | Full control, remap scancodes | Requires flashing/config |
I use components from Keyboards Technology for reliable adapters and less bench time.
Scancode mapping and layout preservation (ISO vs ANSI)
Old systems expect particular scancode sets. I map keys in firmware to preserve layout and avoid surprises—especially Enter and Backslash (ISO vs ANSI).
| Issue | What I do | Quick tip |
|---|---|---|
| ISO Enter / extra key | Remap firmware scan to match physical key | Test in an editor on the vintage OS |
| Modifier placement | Swap L/R Ctrl or Alt in firmware | Use short test scripts |
| Scancode set mismatch | Translate using bridge or firmware | Log scancodes during boot |
Example: I retrofitted a modern keyboard for a 486 by flashing a Teensy to convert USB to Set 1 scancodes—the Enter key then behaved like the original.
Compatibility checklist
- Connector match — correct plug or adapter.
- Protocol support — bridge or firmware translates expected scancodes.
- Voltage and power — old boards may not supply enough current.
- Layout match — ISO vs ANSI keys where the OS expects them.
- Firmware mapping — right keymap flashed.
- Key rollover — NKRO vs 2‑key depending on usage.
- Physical fit — does the case and plate align with mounting points?
Keep this checklist at your bench to cut repair time.
Planning custom retro builds and long‑term care
Case and plate materials to tune sound and weight
Material shapes both sound and heft. For a vintage tone I often choose a brass plate; for a lighter feel, aluminum; for quiet builds, polycarbonate or interior foam.
| Material | Sound | Weight | Notes |
|---|---|---|---|
| Brass (plate) | Deep, warm thock | Heavy | Mass and vintage tone |
| Aluminum | Bright, crisp | Light–med | Lively typing |
| Polycarbonate | Mellow, damped | Light | Softens ping, quiet builds |
| Acrylic (case) | Muted, hollow | Light | Visual style, add foam to tame ring |
| Steel (plate) | Sharp, loud | Heavy | Very firm, bright |
I usually prototype combinations to hear differences. Parts from Keyboards Technology save fitment headaches.
Maintenance: cleaning, switch care, firmware backups
Routine care keeps builds healthy:
- Clean keycaps every 2–3 months: pull caps, wash, dry.
- Dust the case weekly with compressed air and a soft brush.
- Service hot‑swap sockets if switches feel loose—re‑seat or replace sockets.
- Lubricate switches sparingly (sliders only).
- Check stabilizers: clip and lube to remove rattle.
- Backup firmware after layout changes; keep a stable and an experimental build.
Tools: keycap puller, Q‑tips, 90% isopropyl for PCB cleaning, switch opener, small brush. Log dates and actions to track mods.
Best practices for compact vintage builds (retrogamers)
- Choose 60% or 65% layouts for portability.
- Use SA or MT3 profiles for tall retro feel.
- Add hot‑swap sockets to try switches rapidly.
- Provide USB‑C to PS/2 or converter if needed for older systems.
- Balance weight with internal brass weights or a heavy plate.
- Keep firmware simple and save a retro profile.
- Use thick foam inside the case to mellow sound.
- Pick keycap legends that echo classic consoles or terminals.
I once built a compact board for a friend who plays vintage shooters—two firmware profiles (retro and modern) plus hot‑swap sockets made it perfect.
Conclusion
I restore keyboards like a restorer brings an old car back to life—keeping the vintage soul while fitting a modern engine. I chase the right case shapes, warm beige tones, and faithful fonts, then tune typing with PBT caps, SA/DSA profiles, lubing, spring swaps, and stem mods.
I marry that look to practical features like USB‑C, Bluetooth, hot‑swap PCBs and QMK/VIA, and bridge old rigs with Teensy/PS/2 solutions when needed. Materials and sound matter too—think brass plates for a hearty thock or polycarbonate for a muted desk—so I prototype, test, and keep a tight checklist and maintenance routine. In short: an old soul with a new heart—authentic on the eyes, reliable under the fingers. If this whetted your appetite, read more at https://marealtacharter.com.br/.
Frequently asked questions
What are Vintage-style keyboards for retro computing enthusiasts with modern technology?
I build keyboards that look and feel vintage but use USB‑C, Bluetooth, hot‑swap sockets, and QMK/VIA. Keyboards Technology supplies solid parts and attention to detail so the boards are both authentic and usable today.
Will these keyboards work with my old Commodore, Amiga, or IBM?
Yes. I use active adapters and microcontrollers (Teensy/Pro Micro) to bridge old connectors and translate scancodes. I test layouts and provide profiles so your retro rig behaves like the real thing.
Which switches give the best retro typing feel?
I prefer tactile or clicky switches and Alps/Matias‑style clones for vintage feel. Heavier linears tuned with springs can mimic buckling‑spring weight. Keyboards Technology offers vintage‑replica switches and guides.
Can I customize or fix these keyboards myself?
Absolutely. I favor hot‑swap PCBs, QMK/VIA support, and modular parts. You can swap switches, change keycaps, and update firmware without soldering. Keyboards Technology provides guides for DIY mods.
How much do vintage‑style keyboards cost and where do I buy one?
Prices typically range from under $100 for basic reproductions to $400 for custom builds. I sell ready models and custom builds at Keyboards Technology and watch group buys for limited runs and rare keycap sets.