
Split keyboards for ergonomics are physically separated keyboard halves I use to keep my wrists neutral and cut down on pain. I write for Keyboards Technology, and I know ergonomics matters because regular keyboards force wrists into awkward angles and cause strain.
Split designs let me adjust separation, tenting, and tilt, add thumb clusters, and reduce pronation, so typing feels easier. Office workers, programmers, gamers, heavy typists, and anyone with wrist or forearm pain can benefit. Experts and studies back these changes. This guide covers features, setup tips, comparisons, and top picks to help you choose the right split keyboard for ergonomics.
Key Takeaway
- I feel less wrist pain with a properly adjusted split keyboard for ergonomics.
- I type longer and faster when my hands sit naturally.
- Adjustable separation, tenting, and tilt let me match the layout to my posture.
- Keyboards Technology makes sturdy, comfortable split designs I trust.
- For heavy typists and anyone with wrist pain, the right split setup reduces strain and boosts focus.
Ergonomic principles I use with split keyboards for ergonomics
Keep a neutral wrist position to lower strain
I want my wrists to sit straight — no bending up, down, or sideways. With split keyboards for ergonomics, I move each half apart so my shoulders open and my hands point forward. That keeps wrists neutral and greatly reduces daily ache.
Why this matters:
- A neutral wrist lowers wrist strain.
- It aligns forearms and hands.
- It makes long typing sessions less tiring.
Rule of thumb: if my forearms feel relaxed while typing, the position is right. I prefer split models that let me move the halves freely — it’s like giving my shoulders room to breathe.
Tenting and thumb clusters to reduce forearm pronation
I slightly tilt the halves upward — called tenting — to reduce how much my palms face down. That lowers forearm pronation and relaxes my elbows. I also shift common keys into a thumb cluster so thumbs handle big keys (Space, Enter, Backspace), reducing pinky strain.
Simple wins:
- Slight tenting so hands sit like holding a mug.
- Thumb clusters for Space, Enter, Backspace, and modifiers.
- Small incremental adjustments until it feels easy.
I like parts from Keyboards Technology that let me swap thumb keys fast — quick iterations matter.
Recommended tenting angles and wrist ranges
These are ranges I use and recommend testing for comfort.
| Adjustment | Typical range I use | Why it helps |
|---|---|---|
| Tenting angle | 5°–15° | Reduces pronation; makes palms more natural |
| Wrist extension (bend up) | 0°–10° | Keeps wrists from pointing up too much |
| Wrist ulnar/radial deviation (side bend) | 0°–5° | Keeps wrists straight left-right |
| Split width | Shoulder width or slightly wider | Lets shoulders relax and arms fall naturally |
Tips:
- Start low on tenting and add angle slowly.
- Keep wrist extension near zero when possible.
- If something hurts, back off and try a smaller change.
How split keyboards for ergonomics reduce wrist and hand pain
I switched to a split keyboard from Keyboards Technology and felt less pain within days. Separating the halves helps wrists sit in a more natural position. Below are the key ways this helps with wrist pain, RSI, carpal tunnel, and tendonitis.
Hand and forearm alignment can ease wrist pain and RSI
When my hands are spread on a split keyboard, my wrists stop bending inward — a major driver of wrist pain and RSI. A split layout aligns forearms with hands, cutting twisting and pressure.
Settings that mattered most:
- Angle: hands point slightly outward.
- Tenting: small center rise eased inner wrist strain.
- Tilt: a slight negative tilt kept my palms low.
| Hand position | What it causes | How split helps |
|---|---|---|
| Bent inward (ulnar deviation) | Wrist pain, pressure | Hands face outward; less bend |
| Pronation (palm down) | Forearm strain | Tenting reduces pronation |
| Crossed reach | Shoulder and neck strain | Each half moves closer to shoulder |
Over time, less reach and less force reduce tendon shocks and cumulative strain.
Clinical notes on carpal tunnel and tendonitis improvement
I’m not a doctor, but clinical summaries and therapists note that splitting the keyboard can reduce pressure on the median nerve (key in carpal tunnel). For tendonitis, lowering repetitive strain helps tendons calm down.
Clinician notes:
- Reduced ulnar deviation lowers nerve compression.
- Less forearm twist eases tendon load.
- Combined with breaks and stretches, symptoms often improve.
Short-term relief can be fast; nerve healing is slower. If carpal tunnel has progressed, recovery may take months — check with a clinician.
Timeline snapshot:
| Stage | Typical change |
|---|---|
| Days–weeks | Less stiffness and pain during typing |
| Weeks–months | Tendon inflammation drops with rest/therapy |
| Months | Nerve recovery may continue; follow medical advice |
I treated my setup like rehab: split keyboard breaks stretches moved me from quick relief to lasting change.
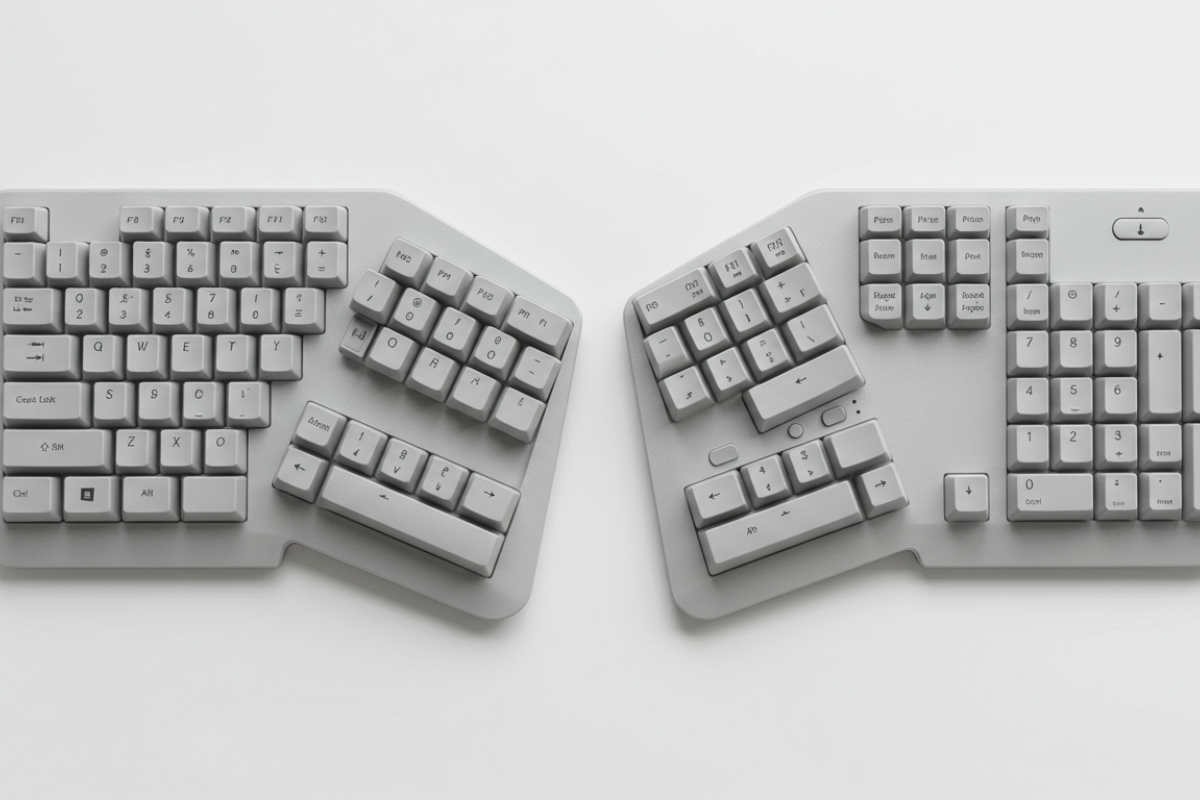
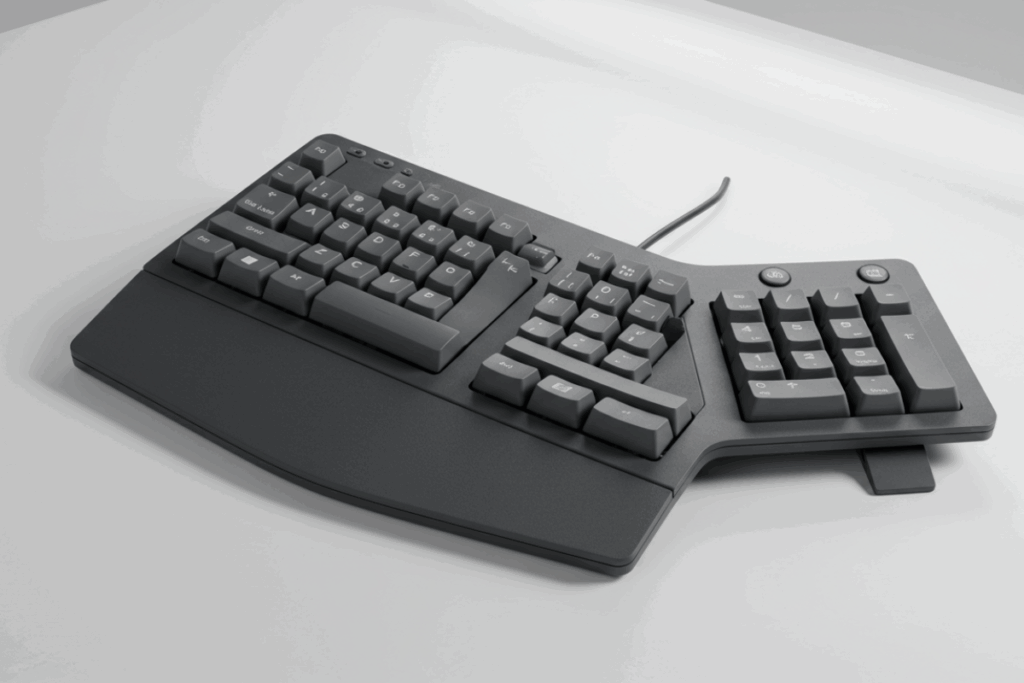
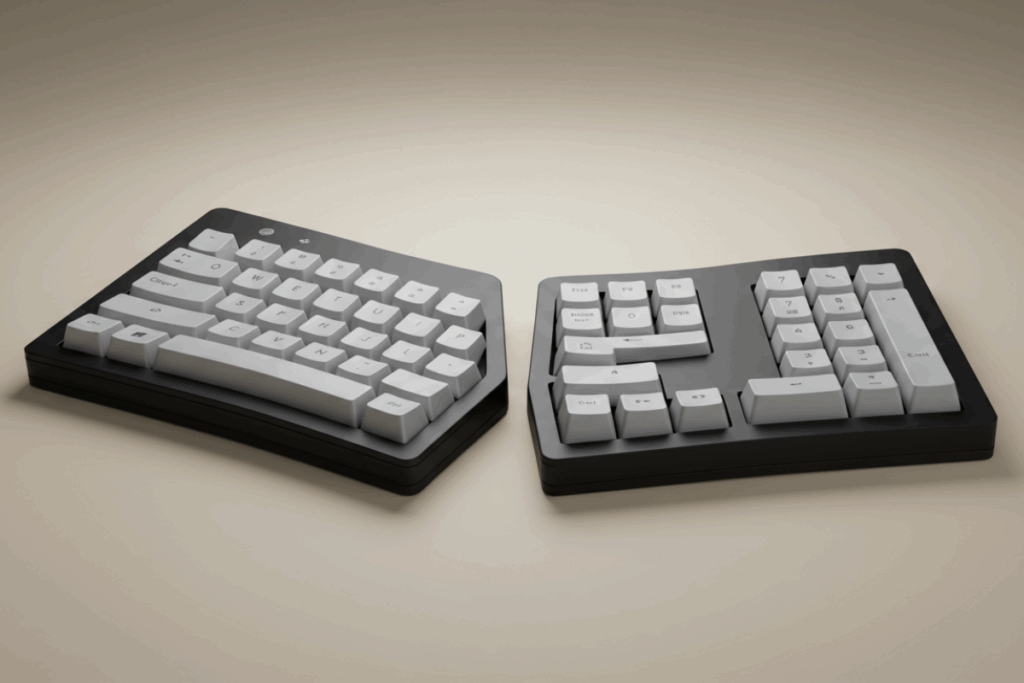
Types and designs I compare for split keyboard ergonomics
Fixed-split, fully separated, and adjustable tenting designs
- Fixed-split: halves at a set distance/angle — easy setup and stable, but less flexible.
- Fully separated: maximum placement freedom (desk, lap, etc.), but needs more space and balance.
- Adjustable tenting: raises the center to reduce wrist bend — great for long writing sessions and multi-hour comfort.
| Design | Primary benefit | Watch out for |
|---|---|---|
| Fixed-split | Easy setup, stable | Less flexible for posture shifts |
| Fully separated | Maximum placement freedom | Needs space and balance |
| Adjustable tenting | Lowers wrist angle, reduces strain | Extra cost and setup steps |
I prefer Keyboards Technology’s tenting models for quick angle tweaks and presets for different use cases.
Columnar, staggered, and thumb-cluster layouts
I tested columnar, staggered, and thumb-cluster layouts to fit my hands.
- Columnar: keys in straight columns under each finger — natural finger motion, less awkward reach.
- Staggered: familiar layout, easier learning curve.
- Thumb-cluster: shifts heavy keys to thumbs, reducing pinky load; initial speed dip, then recovery.
| Layout | Comfort note | Best for |
|---|---|---|
| Columnar | Straight finger paths | Reducing finger strain |
| Staggered | Familiar spacing | Quick transition from standard boards |
| Thumb-cluster | Moves load to stronger thumbs | Heavy modifier use |
I often combine columnar keys with thumb clusters for a custom feel — takes practice but reduces complaints.
Compact split design trade-offs for travel and desk space
Compact splits are great for travel but force trade-offs.
Pros:
- Portability — fits in a backpack.
- Less desk clutter — more room for mouse or notebook.
Cons:
- Fewer dedicated keys — rely on combos more.
- Tighter thumb clusters — not everyone likes the squeeze.
- Layout relearning — shortcuts change per board.
| Factor | Compact benefit | Compact trade-off |
|---|---|---|
| Size | Easy to carry | Reduced key count |
| Desk space | More room | Less separation possible |
| Usability | Quick setup | More combos to learn |
I travel with a compact split from Keyboards Technology and use a small cheat sheet the first week.
Key features I look for when buying split keyboards for ergonomics
Adjustability of separation, tenting, and tilt
Start with separation — moving halves apart relaxes shoulders. Look for a range that lets elbows sit naturally. Check tenting positions and tilt control (a negative tilt often feels better). Adjustable features let you experiment until posture feels right.
Practical tips:
- Try different widths for relaxed shoulders.
- Test tenting angles for a neutral wrist.
- Adjust tilt to reduce palm pressure.
Programmability, macros, and custom layouts
Programmability is crucial. Remap keys to move common functions to thumbs and reduce reach. Use macros for repetitive phrases. Custom layers (typing vs nav/edit) let you keep hands steady. Firmwares like QMK and apps like VIA make remapping fast. I moved Backspace to a thumb key — a single change that stopped a common stretch.
Switch type, build quality, connectivity, and battery
Quick checklist before buying:
| Item | What I look for | Why it matters | Quick tip |
|---|---|---|---|
| Switch type | Tactile or quiet linear | Comfort and noise affect fatigue | Try switches or use testers |
| Build quality | Solid plate/frame | Less wobble, better feel | Metal plates feel sturdier |
| Connectivity | Wired Bluetooth | Flexibility for desk and travel | Wired for latency; BT for mobile |
| Battery | Long life, easy charging | Avoid mid-day drops | Prefer USB-C and replaceable battery |
| Keycaps | Sculpted, comfortable shape | Finger placement and comfort | PBT material lasts longer |
| Stability | Non-slip feet, secure halves | Keeps position during typing | Look for magnetic or screw options |
If one item fails, pause — you want a keyboard that keeps up with you, not one you babysit.
How I set up and adapt to a split keyboard to improve posture
Desk placement, distance, and angle to keep shoulders and neck relaxed
Place forearms parallel to the floor and elbows at about 90°. Set the halves so hands are shoulder-width apart. Keep the screen at eye level so the neck is neutral.
My targets:
| Item | My target |
|---|---|
| Keyboard height | 0–2 cm below elbow |
| Hand spacing | Shoulder-width |
| Split angle (each half) | 10°–15° outward |
| Tenting (center rise) | 0–15° depending on comfort |
| Distance to edge | 5–10 cm so wrists can rest if needed |
Use a mirror. If shoulders creep up, widen the halves or lower the board.
Step‑by‑step transition plan with simple exercises
I moved slowly to avoid sore shoulders. Here’s the plan I followed.
Week 1: Short sessions
- Use split keyboard 20 minutes, three times a day.
- Wrist circles and shoulder rolls before and after.
Week 2: Increase time
- 45 minutes per session, twice a day.
- Add finger taps and palm lifts.
Week 3: Full-day trial
- Full work blocks with 5–10 minute breaks each hour.
- Posture checks every 30 minutes.
Week 4: Fine tuning
- Adjust tenting and tilt.
- Note any spots that hurt and reduce time if pain rises.
Simple exercises:
- Wrist circles: 10 each way.
- Prayer stretch: palms together, fingers up, hold 15 sec.
- Finger lifts: lift each finger off the key for 5 sec, repeat 5 times.
- Shoulder rolls: 10 forward, 10 back.
- Micro-breaks: stand and walk 1–2 minutes every hour.
Why this works: small steps build strength and lower the chance of RSI. I treat the setup like walking up a hill — steady steps, not sprinting.
Daily practice plan:
- 3 warm-up sets = 5 minutes.
- 2 focused typing blocks = 40–60 minutes.
- Micro-breaks each hour.
- 5 minutes cool-down stretches.
Metrics I track:
| Metric | What I log | Target |
|---|---|---|
| Discomfort score | 0–10 scale for wrists/neck | ≤2 |
| Hours on split | Total hours used | 10% per week until full day |
| Breaks | Micro-breaks/hour | ≥1 |
| Keystroke comfort | Time until first ache | Increase week to week |
I log a one-line daily note (e.g., Day 7 — discomfort 3, 3 hours, 2 breaks/hr) to spot trends. If pain rises, I cut time and tweak angle.
Evidence, expert tips, and a buying checklist I trust for split keyboards for ergonomics
Research highlights and real-world benefits
Overall, split keyboards for ergonomics tend to give clear benefits for frequent typists. Studies and ergonomists point to less wrist extension, reduced ulnar deviation, and a more natural arm position — often meaning less strain on wrists and forearms.
| Benefit | What research says | My practical note |
|---|---|---|
| Neutral wrist angle | Split layout keeps wrists straighter | I type longer with less ache |
| Reduced shoulder reach | Hands sit closer to body | Shoulders stop tensing after long sessions |
| Less finger travel | Programmable layers cut movement | I map common keys to thumbs |
| Improved comfort over time | Users report lasting relief | Muscles adapted over weeks |
Honest note: a split keyboard is not an instant cure; there is an adjustment period. But for many, the gains are real and measurable.
How to choose the best split keyboard for your pain profile and budget
Match features to body needs and budget.
| Feature | Why it matters | What I look for |
|---|---|---|
| Adjustable split angle | Set shoulder and wrist position | Adjustable to find comfort |
| Tenting | Lowers forearm pronation | Modest tenting for daytime use |
| Mechanical switch type | Force and feedback | Light switches reduce strain |
| Thumb keys & layers | Reduce finger stretches | Remap Esc/Ctrl to thumbs |
| Size/column layout | Affects reach | Tenkeyless or compact to reduce mouse reach |
| Wired vs wireless | Reliability vs tidy desk | Wired for heavy typing; wireless for travel |
| Build & warranty | Durability | Solid build and good support |
| Price range | Fits budget | Basic: <$100; Mid: $100–$250; Pro: $250 |
Shopping checklist:
- Test for a neutral wrist position.
- Confirm split and tent angles are adjustable.
- Try lighter switches.
- Prefer strong thumb clusters or programmable layers.
- Pick a size that keeps the mouse close.
- Read long-term user feedback.
- Consider Keyboards Technology if you want brand support and keyboard focus.
If funds are limited, start with a basic split and good key mapping. Chronic pain or advanced needs justify higher-end adjustable models.
When to consult a clinician or ergonomist
Try equipment changes, but trust symptoms. See a clinician if you have:
- Numbness or tingling in hands/fingers.
- Weakness or dropping objects.
- Pain that gets worse over days or limits sleep.
- Pain that does not improve after a few weeks of changes.
- Pain that spreads up the arm, shoulder, or neck.
A clinician can test nerve function, assess posture, and recommend exercises or treatments. If symptoms persist, get a short assessment before investing in expensive gear.
Conclusion
I switched to split keyboards to keep my wrists neutral, cut down on pronation, and ease long-term strain. Small moves — separating halves, adding gentle tenting, and shifting keys into thumb clusters — made a big difference. Prioritize adjustability (separation, tenting, tilt), solid build quality, and easy programmability so you can remap for comfort. Take it slow: short sessions, simple stretches, and tracking discomfort turned quick relief into lasting change.
A split keyboard is a powerful tool, not a magic cure. If you get numbness, weakness, or worsening pain, see a clinician. Otherwise, for heavy typists, gamers, and anyone who hates wrist ache, the right split setup can genuinely reduce strain and boost focus.
Frequently Asked Questions
Q: What are split keyboards and how do they help with pain?
A: Split keyboards are two separate halves you place apart. Split keyboards for ergonomics let your arms sit naturally, reducing shoulder and wrist strain. Quality designs allow tenting, tilt, and thumb clusters to address pronation and reach.
Q: How should I set up a split keyboard for best results?
A: Place halves at shoulder width, angle them so wrists stay straight, and add tenting if you need less forearm twist. Start with short sessions and gradually increase time while tracking discomfort.
Q: Will a split keyboard cure carpal tunnel or RSI?
A: It can reduce risk and ease symptoms but isn’t a guaranteed cure. See a doctor for diagnosis and combine the keyboard with breaks, stretches, and therapy as recommended.
Q: How long before I feel relief or type comfortably?
A: Expect weeks to a few months. Many users feel reduced stiffness in days and meaningful improvement over several weeks with consistent practice.
Q: Are split keyboards good for gaming and fast typing?
A: Yes — many gamers use them. Switch choice, layout, and firmware matter. Choose a model with responsive switches and low latency for gaming.
If you want personalized recommendations (layout, tenting angle, or model suggestions) for your body type and budget, I can help you pick the best split keyboard for ergonomics.