
At Keyboards Technology I keep recommendations clear so you can buy with confidence.
This guide explains mechanical, membrane, wireless, and compact layouts (60%, 65%, TKL), plus switch basics — tactile, linear, clicky — and covers keycaps, connectivity, build quality, programmability, and backlighting. I compare budget vs premium, share top starter picks, and give concise buying tips to help you pick the best keyboards for beginners fast.
Key takeaway
- I favor plug-and-play models for easy setup.
- Start with light linear or low-force tactile switches for a quiet, comfortable feel.
- TKL or 65% layouts balance comfort and learning.
- Choose PBT keycaps and solid stabilizers for durability.
- Hot-swap sockets are ideal for experimenting without soldering.
How I compare the best keyboards for beginners by type
When testing keyboards I focus on feel over specs. For beginners the most important factors are switch type, actuation force, and noise. I test in real use (typing and casual gaming) and check build quality and upgrade options.
Mechanical keyboards for beginners: feel and switches
I test switches like shoes: wear them until they tell me if they fit.
- Switch type: linear, tactile, or clicky.
- Linear — smooth, good for fast typing/gaming, quieter when lubed.
- Tactile — a small bump on actuation; my default pick for typing comfort.
- Clicky — loud audible feedback; fun but can annoy others.
- Actuation force: light–medium helps prevent fatigue.
- Noise: test in a normal room — what sounds loud to me will sound loud to others.
- Hot-swappable sockets: let you change switches without soldering — excellent for beginners.
- Keycap profile: sculpted profiles (OEM, Cherry) feel more natural.
Switch quick comparison:
| Switch Type | Feel | Noise | Good for |
|---|---|---|---|
| Linear | Smooth | Low–Med | Gaming, fast typing |
| Tactile | Bump on press | Medium | Everyday typing, balance |
| Clicky | Bump click | High | Typists who want audible feedback |
Tip: Try a tactile or light linear first — feedback without shouting. Hot-swap tactile models are safe starter picks among the best keyboards for beginners.
Membrane vs scissor switches: pros and cons
Non-mechanical options focus on cost, noise, and portability.
| Feature | Membrane | Scissor |
|---|---|---|
| Feel | Soft / mushy | Firm / stable |
| Noise | Quiet | Quiet |
| Travel | Longer | Shorter |
| Durability | Lower | Medium |
| Best for | Budget use | Laptops, office use |
- Membrane: cheap and quiet, but can feel mushy and wears sooner.
- Scissor: stable, short travel (common on laptops), good for compact/office use.
Recommendation: choose scissor if you type a lot on a laptop-style board; pick membrane only when cost or near-silence is the top priority.
Key switch life and maintenance
- Mechanical: commonly ~50 million keystrokes.
- Scissor: ~20 million.
- Membrane: ~5–10 million.
Maintenance basics:
- Keep the board clean — blow out crumbs and wipe weekly.
- For mechanicals: remove keycaps and brush every few months.
- On hot-swap boards: replace a tired switch rather than replace the whole keyboard.
- Avoid eating over the keyboard.
Maintenance table:
| Switch Type | Typical Lifespan | Easy Maintenance |
|---|---|---|
| Mechanical | ~50M presses | Clean keycaps; occasional switch swap |
| Scissor | ~20M presses | Keycap removal if possible; careful cleaning |
| Membrane | ~5–10M presses | Surface cleaning; replace when worn |
I’ve revived old mechanicals by cleaning and swapping a few switches — simple and rewarding.
How I find budget keyboards for beginners that last
I shop like I pick shoes: comfort and build matter more than flash. I read specs, watch sound tests, and scan reviews for real-life wear. I look for value, not gimmicks — that’s the quickest path to the best keyboards for beginners that last.
Checklist for budget builds
- Switch type: clear labeling — membrane for quiet/cheap; mechanical for better feel/lifespan.
- Build quality: metal plate or solid plastic; no wobble when tilted.
- Keycaps: PBT preferred; ABS wears faster.
- Layout: TKL or full-size depending on number use.
- Warranty & returns: confirm return window and warranty length.
I read multiple user reviews, zooming in on photos of worn keys — real wear tells you more than specs.
Price vs durability at a glance
| Price Range | Typical Features | What reviews note |
|---|---|---|
| < $30 | Basic membrane, thin plastic | Good short-term; keys wear fast |
| $30–$80 | Entry mechanical or better membrane | Best value; 1–3 years solid use |
| $80 | Mechanical, PBT keycaps, metal parts | Long life and feel; more repairable |
Where I look:
- Keyboards Technology guides and roundups
- Community forums and Reddit (real user timelines)
- Retailer verified reviews (Amazon, Newegg)
- YouTube hands-on reviews (typing and bend tests)
If both expert guides and community back a model, I take it seriously.
How I test wireless keyboards for lag and battery
I test wireless so you can pick one of the best keyboards for beginners without surprises. I use repeatable checks focused on lag, battery, and connectivity, then run real-world typing tests.
Bluetooth vs USB receiver: pros and cons
| Feature | Bluetooth | USB receiver (2.4 GHz) |
|---|---|---|
| Latency | Moderate — good for casual use | Low — better for fast typing and gaming |
| Range | Good for phone/tablet | Best on desktop with clear line |
| Battery impact | Often lower | Can use more power if always active |
| Setup | Easy on phones/laptops | Plug-and-play dongle |
| Interference | Can share crowded airspace | More stable in noisy Wi‑Fi areas |
I usually use the USB receiver for fast typing tests and Bluetooth for tablets/laptops.
Battery life, latency, connectivity
- Battery life: backlight/RGB reduces life — active RGB can cut battery to hours; with lighting off some boards last days or months.
- Latency: USB receivers often <8 ms; Bluetooth 10–40 ms depending on device.
- Connectivity: prefer multi-device pairing if you switch devices. Keep firmware updated — it often fixes drops.
Real test tip: test with your typical settings (lighting, device) — results vary widely.
My setup steps for reliable wireless use
- Fully charge or insert fresh batteries.
- Update firmware if available.
- Pair via Bluetooth and/or USB receiver; note which is snappier.
- Reduce interference (move routers/metal away).
- Do a latency check with a typing test.
- Time battery life under heavy use; multiply to estimate typical life.
- Test with backlight on and off.
Quick reliability checks:
| Test | What I watch | Good result |
|---|---|---|
| Latency check | No perceptible delay | Smooth typing, no missed keys |
| Drop test (1 hour) | Any disconnects | Zero disconnects |
| Battery run (heavy) | Hours until low | Matches maker claim within ~20% |
If a keyboard works well across devices, it’s a strong pick among the best keyboards for beginners.
How I pick compact keyboards for beginners for small desks
I prioritize comfort, then space, then learning curve. I test each board for an hour of typing and an hour of browsing to see how it feels. Compact keyboards can free desk space without sacrificing comfort if chosen wisely.
Compact layouts explained: 60%, 65%, TKL
| Layout | Keys kept | What you gain | What you lose |
|---|---|---|---|
| 60% | ~61 keys | Maximum space; very portable | No arrow keys or function row; layer learning |
| 65% | ~68–72 keys | Arrow keys small nav cluster; compact | No numpad; smaller footprint |
| Tenkeyless (TKL) | ~87–88 keys | Full typing area minus numpad; easy adapt | Less desk space freed than smaller layouts |
I typically recommend 65% for beginners who want space and comfort — it keeps arrow keys and is easy to adapt to. Use TKL if you need numbers often; choose 60% only if you value portability and don’t mind layers.
When compact saves space and when it hurts typing
Compact helps when you want more mouse movement area or have a tight desk. It hurts when you rely on the numpad or frequent function keys (e.g., accounting, heavy spreadsheet use). Ask:
- Do I use the numpad daily? If yes, avoid 60%/65%.
- Do I need arrow keys often? If yes, pick 65% or TKL.
- Is desk space my priority? If yes, 60%/65% will help.
Tips for learning a smaller layout fast
- Use labels or stickers for the first week.
- Practice shortcuts slowly until natural.
- Map frequent commands to easy layers (thumbs are great).
- Keep sessions short (15–30 minutes) with breaks.
- Use a hot-swap board to experiment with switches affordably.
Small, steady practice beats long, exhausting sessions.
How I choose ergonomic keyboards for beginners to reduce strain
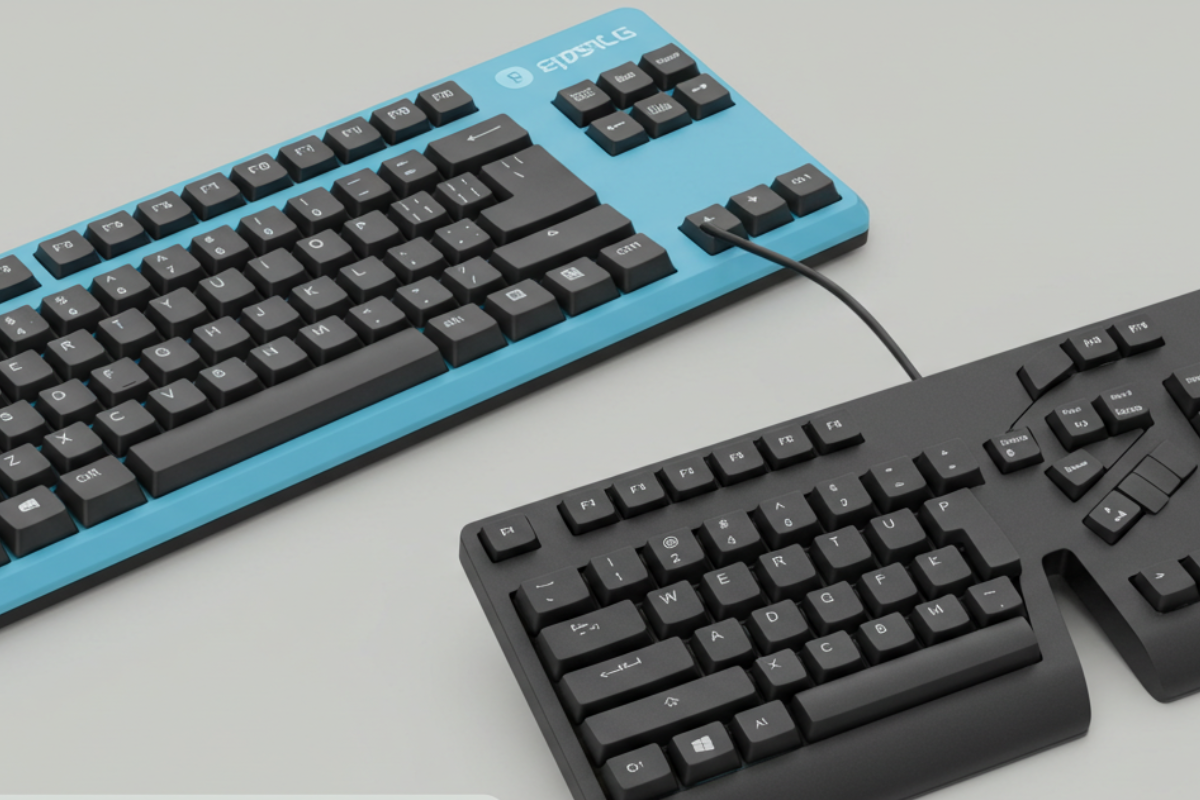
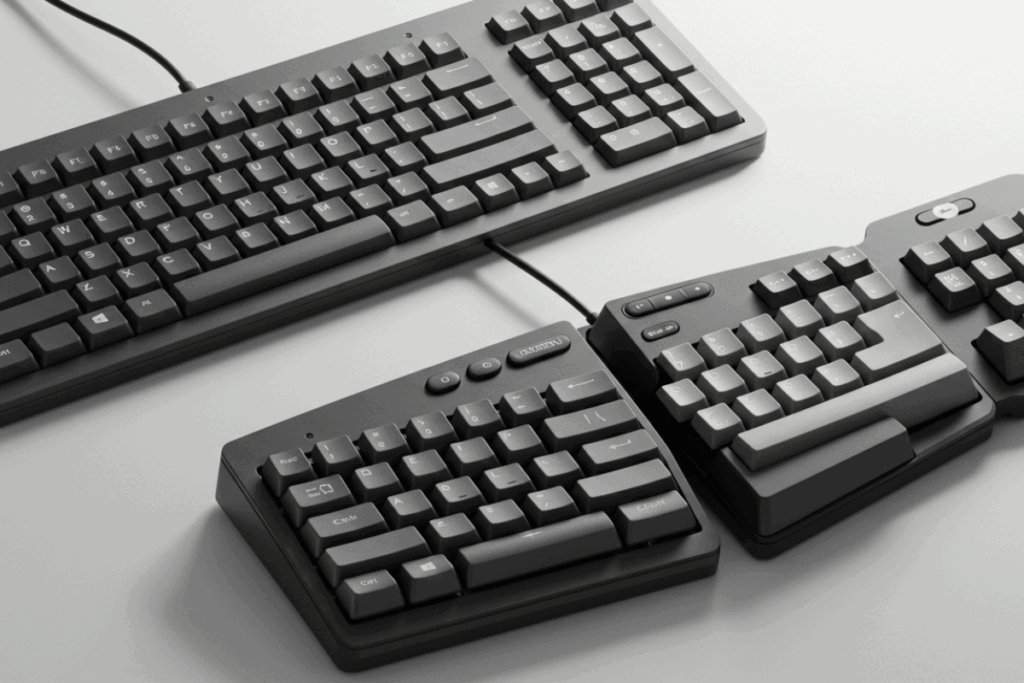
Comfort first. I test keys, angle, and wrist support. Beginners need gentle changes — a small split or light tenting often helps more than a radical layout change.
Ergonomic features: split, tenting, wrist support
| Type | What it helps | Who should try it | Quick tip |
|---|---|---|---|
| Split | Reduces shoulder/forearm twist | People who angle hands outward | Start with a small split |
| Tenting | Lowers forearm pronation | Those with inner wrist ache | Start low |
| Wrist support | Keeps wrists neutral | Anyone who rests wrists on desk | Use a breathable pad |
I check: can I type an hour without tension? If yes, it’s a keeper. Beginners should make small, incremental changes.
Signs you need an ergonomic keyboard
- Numbness or tingling in fingers after typing.
- Aching in the wrist or base of the thumb.
- Pain that starts during typing and eases when you stop.
- Posture issues: shoulders creeping up or wrists bending a lot.
If you see these signs, try a split or add a wrist support.
Setting up ergonomics for better posture
- Adjust chair so forearms are roughly level with the desk.
- Position keyboard close to the body so elbows are near your sides.
- Angle split keyboards so hands point forward.
- Use wrist support only if wrists rest on the desk.
- Set monitor at eye level to avoid leaning forward.
Quick checklist:
| Step | What I do | Why it matters |
|---|---|---|
| Chair height | Match forearm to desk | Keeps wrists straight |
| Keyboard position | Close to body | Lowers shoulder strain |
| Keyboard angle | Neutral or slight tent | Reduces wrist twist |
| Wrist pad | Use if resting wrists | Adds soft support |
| Monitor height | Eye level | Stops leaning forward |
Change one thing at a time and test for days — small tweaks add up.
How I pick the best gaming keyboards for beginners and for coding
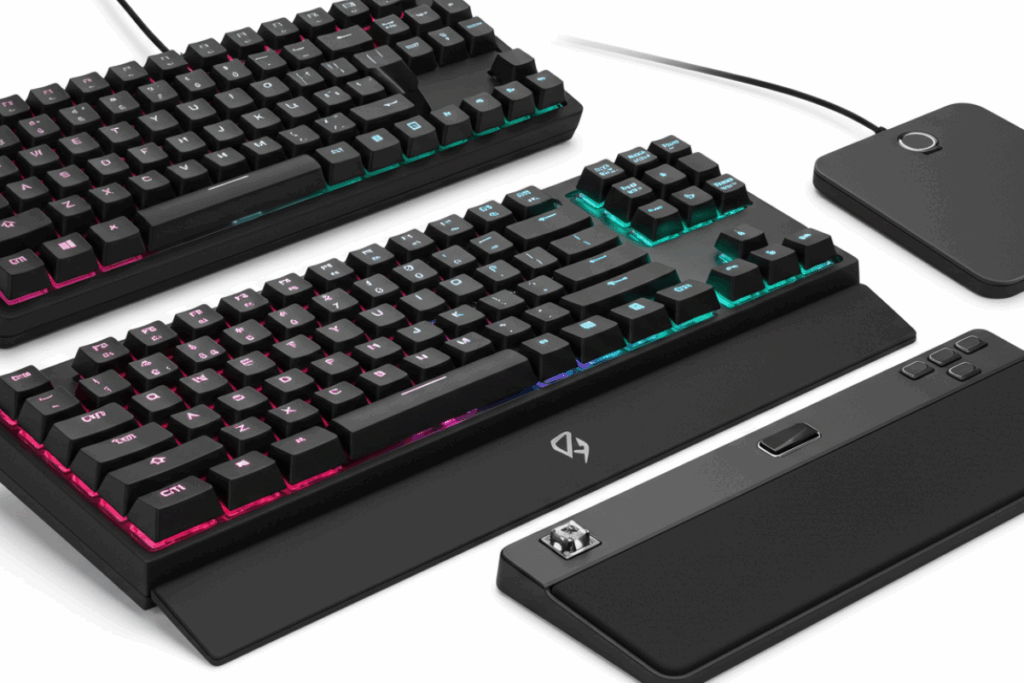
Best gaming keyboards for beginners: polling rate, anti-ghosting, switches
For gaming I focus on polling rate, NKRO/anti-ghosting, and switches.
- Polling rate: 1000Hz gives near-instant response — valuable for fast-paced play.
- NKRO / Anti-ghosting: test complex combos (e.g., hold WA while tapping other keys).
- Switches: linear for smooth presses, tactile for balanced use, clicky for feedback.
I prefer tactile or light linear for beginners — forgiving and easy to learn on.
Keyboards for beginner programmers: layout, travel, macros
For coding focus on layout, key travel, and macros.
- Layout: Full-size or TKL; avoid 60% until comfortable with layers.
- Travel: ~2mm actuation / 4mm total travel gives a crisp, non-fatiguing feel.
- Macros: On-board macros and memory speed repetitive tasks and move with you between machines.
Layout quick view:
| Layout | Space | Typing comfort | When I pick it |
|---|---|---|---|
| Full-size | Large | High | Heavy numeric work |
| TKL | Medium | High | Save desk space |
| 60% | Small | Needs layers | Very compact setups |
Final checklist for the best beginner typing keyboards
- Polling rate 1000Hz — smooth input for gaming.
- NKRO / Anti-ghosting — no missed combos.
- Switch type labeled — try before you buy if possible.
- 2mm actuation / 4mm travel — comfortable for long typing.
- Full-size or TKL — match desk and number use.
- Programmable macros — save repetitive time.
- Solid build stable feet — less wobble, longer life.
- Good warranty / support — peace of mind.
I tick these boxes when testing. Entry models that meet most items are often the best value and among the best keyboards for beginners.
Conclusion
Buy what feels right, not what sounds flashy. Start with a tactile or light linear switch and prioritize hot-swap if you want to experiment affordably. For most beginners I recommend TKL or 65% for comfort and minimal learning curve. Choose 60% only if you value portability and don’t mind layers. If numbers matter, pick full-size.
Build quality beats bells and whistles: prefer PBT keycaps, stable stabilizers, and a rigid frame. For wireless, test both Bluetooth and USB receiver modes and watch battery with RGB on. Ergonomics isn’t optional — small changes like a split keyboard, light tenting, or a wrist support can prevent pain.
If you game or code: prioritize 1000Hz, NKRO, and clear macro support; for coding aim for ~2mm actuation / 4mm travel. Value over flash, comfort over gimmicks, and a bit of hands-on testing goes a long way. I’ve made the mistakes so you don’t have to.
Frequently asked questions
Q: What types of switches should I try when looking for the best keyboards for beginners?
A: Try membrane, linear, and tactile. Membrane is quiet and cheap; linear feels smooth; tactile gives a light bump. Brown (tactile) or Red (linear) switches are good starter choices.
Q: What keyboard size should a beginner pick?
A: Full-size or TKL are the safest. Full-size for frequent numeric entry; TKL saves desk space while keeping a familiar layout.
Q: Mechanical or membrane — which is easier for me?
A: Both work. Membrane is familiar and quiet; mechanical feels better and lasts longer. A mid-range mechanical offers the best value and feel for many beginners.
Q: Is hot-swappable important for a beginner?
A: Yes. Hot-swap lets you change switches without soldering and makes trying different switch types affordable and fun.
Q: How much should I spend on the best keyboards for beginners?
A: Expect ~$20–$60 for membrane boards and ~$50–$120 for entry mechanical. $70–$100 often gets a mechanical board that lasts and feels great.